Preparation
Before we get to the main content of this workshop, we need to set up the back-end infrastructure and the front-end web application from the previous workshop.
This workshop is a continuation of Workshop 000080 - Build a Serverless Book Store. We will reuse the same SAM project and front-end on S3. If this is your first time, follow each step below.
1. Configure AWS Credentials for SAM CLI
If you have already configured AWS credentials (Access Key) from a previous workshop, you can skip step 1 and go directly to step 2. If not, follow step 1 to set up your AWS credentials so that SAM CLI can deploy resources on your behalf. Refer to the detailed guide here: Preparation - Workshop 000080
Run the following command in your terminal.
aws configureEnter the information from your IAM user credentials file:
- AWS Access Key ID: Enter your Access Key ID.
- AWS Secret Access Key: Enter your Secret Access Key.
- Default region name:
ap-southeast-1(Singapore — the region used throughout this workshop). - Default output format: Leave blank and press Enter.

2. Deploy the Back-end with SAM CLI
Download the SAM project source code below.
Unzip the file, then open a terminal and navigate to the directory containing the
template.yamlfile.The project directory structure should look like this:
fcaj-book-shop/
├── fcaj-book-shop/
│   ├── books_list/
│   ├── book_create/
│   └── book_delete/
└── template.yaml
Make sure you are in the root
fcaj-book-shop/directory (wheretemplate.yamlis located) before running any SAM commands.Validate and build the SAM application.
sam validate
sam build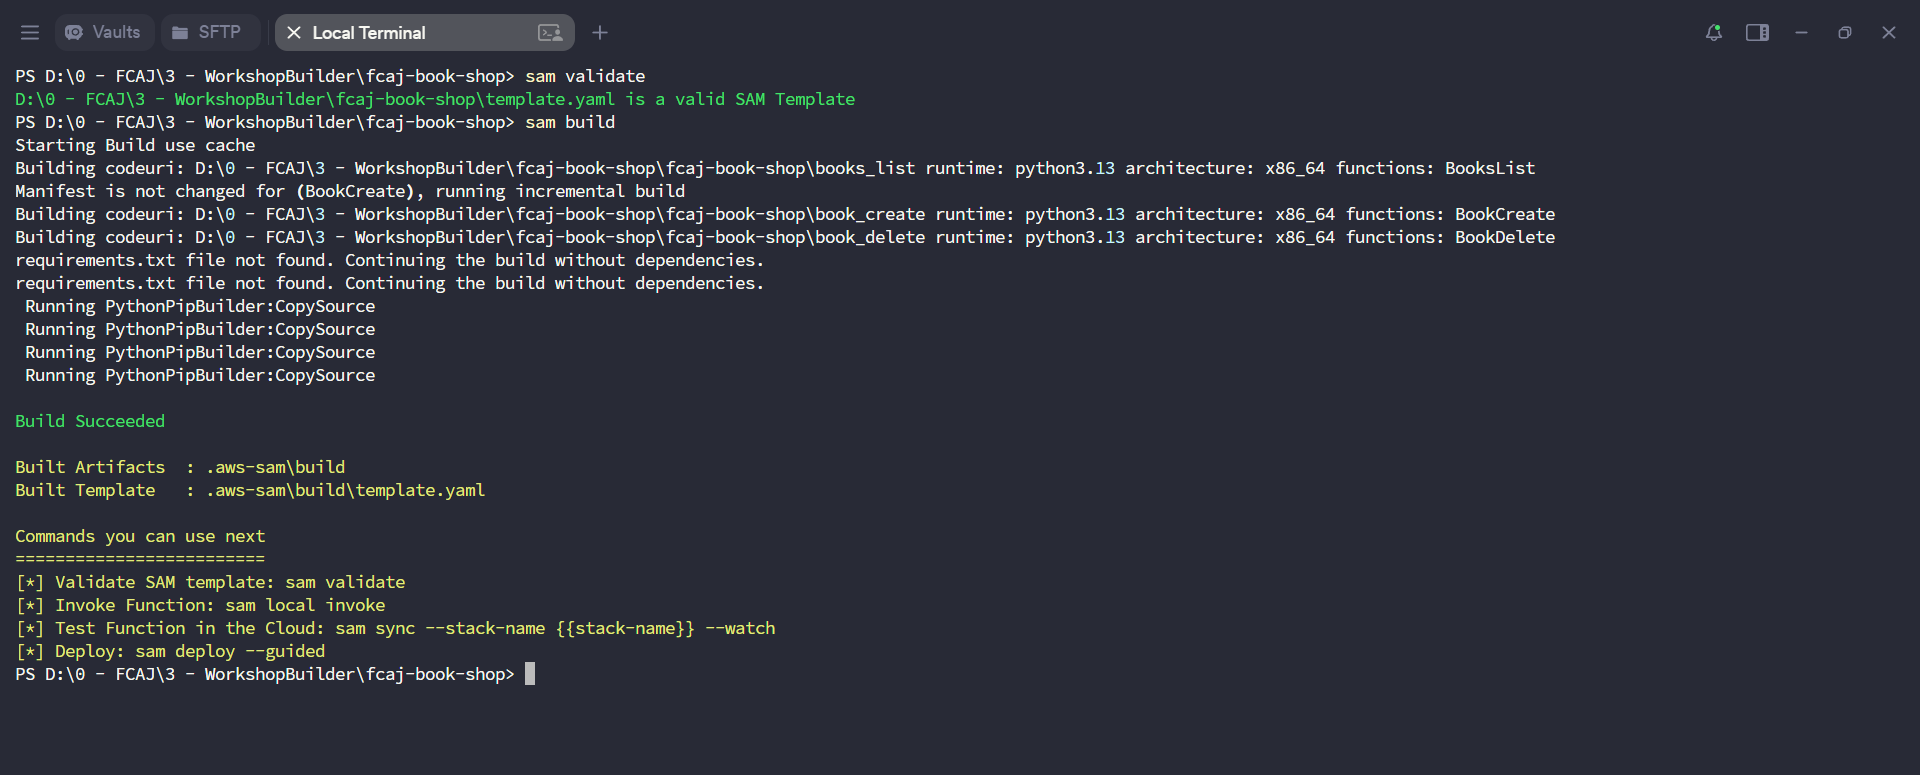
Deploy the SAM application for the first time using
--guidedto configure the deploy parameters.sam deploy --guided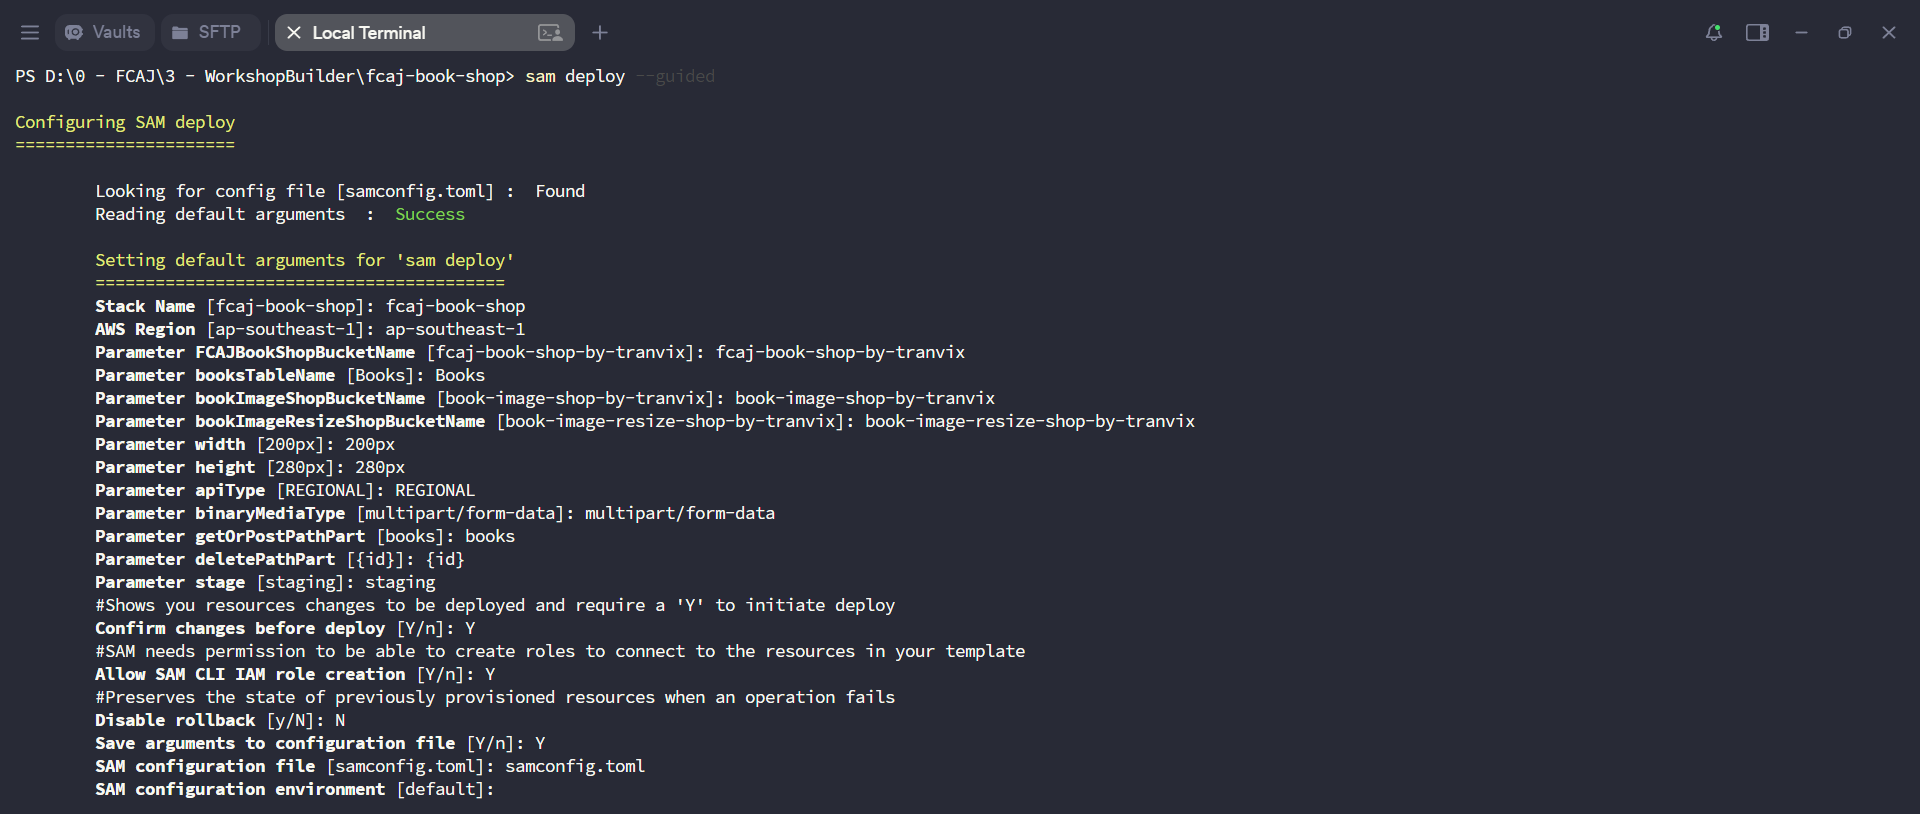
Enter the following values when prompted. Leave all other parameters as default (press Enter).
- Stack Name:
fcaj-book-shop - AWS Region:
ap-southeast-1 - Confirm changes before deploy:
y - Allow SAM CLI IAM role creation:
y - Disable rollback:
n - Save arguments to configuration file:
y
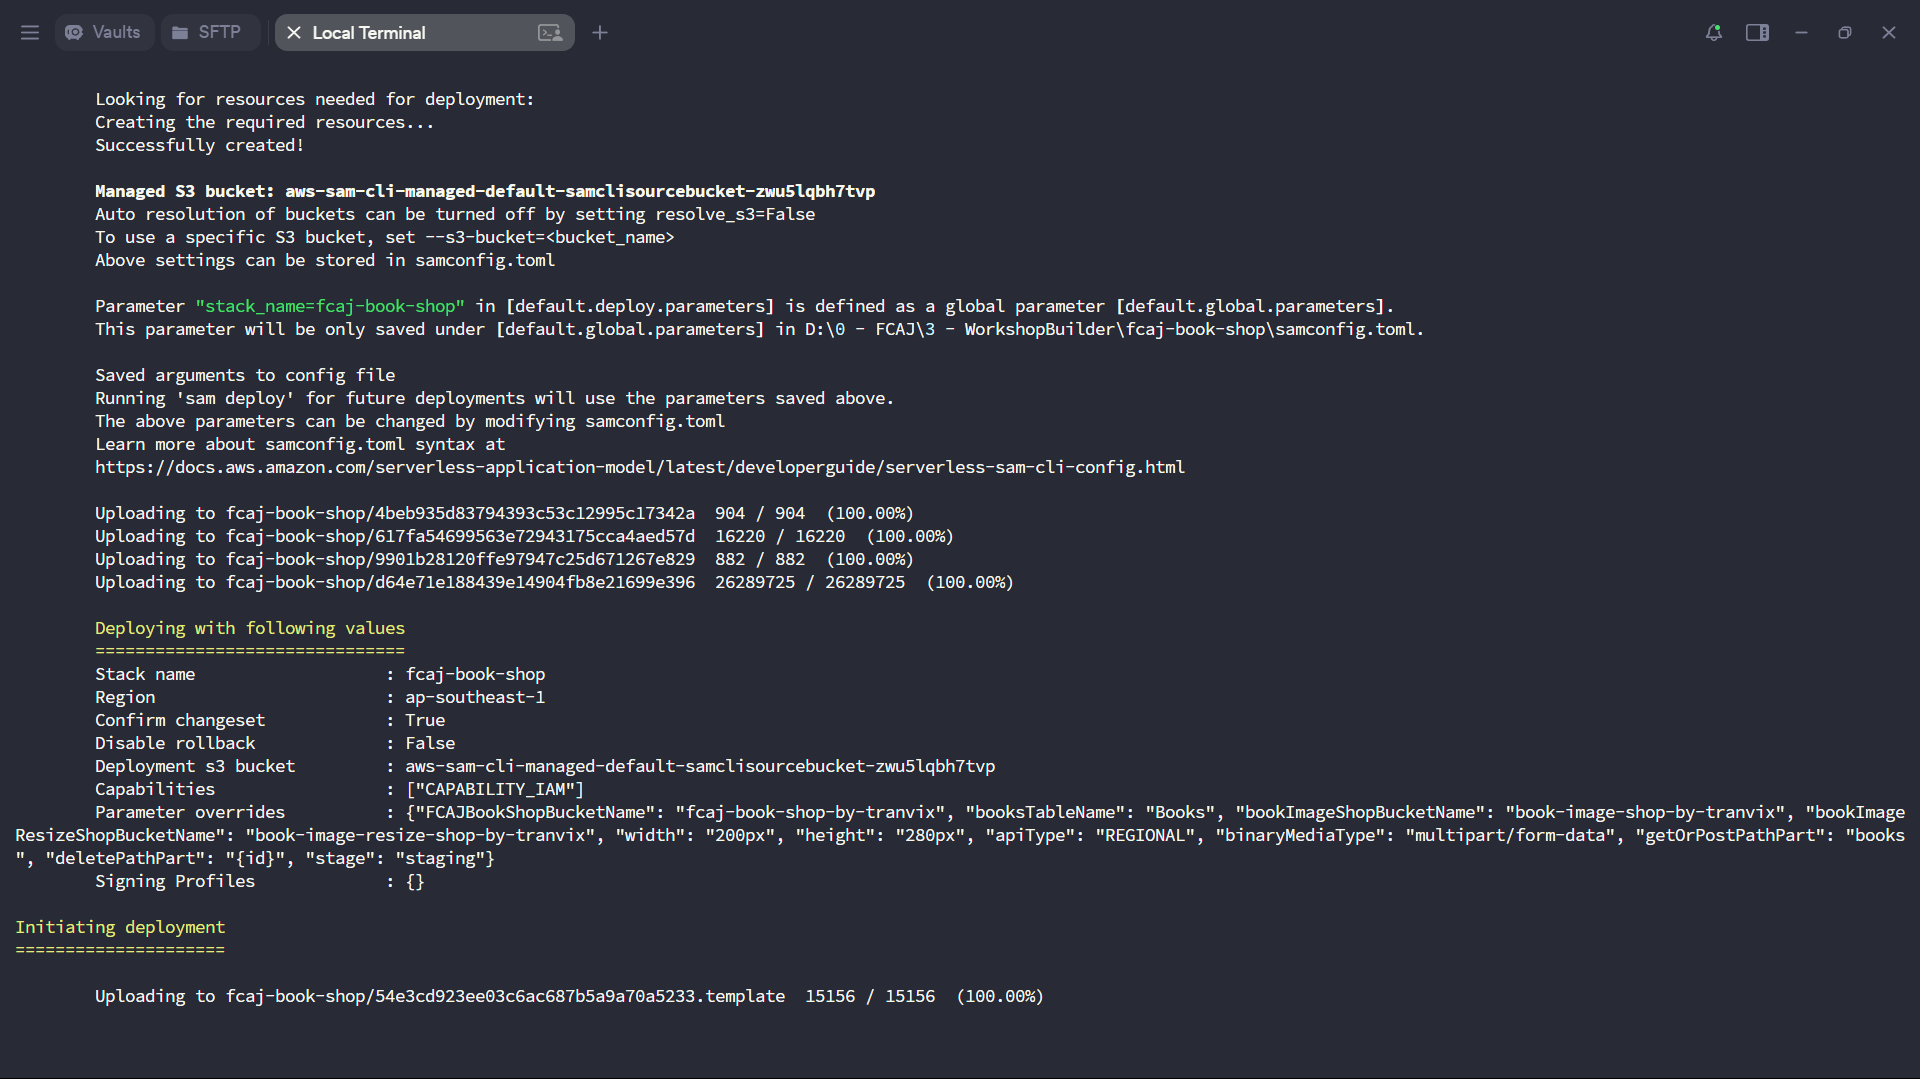
SAM will package and upload your Lambda code to the managed S3 bucket, then initiate the deployment.
- Stack Name:
SAM will display a CloudFormation changeset and ask for confirmation. Enter
yto confirm.![CloudFormation changeset preview — Deploy? [Y/N]](/images/1-preparation/1.5.png)
After the first
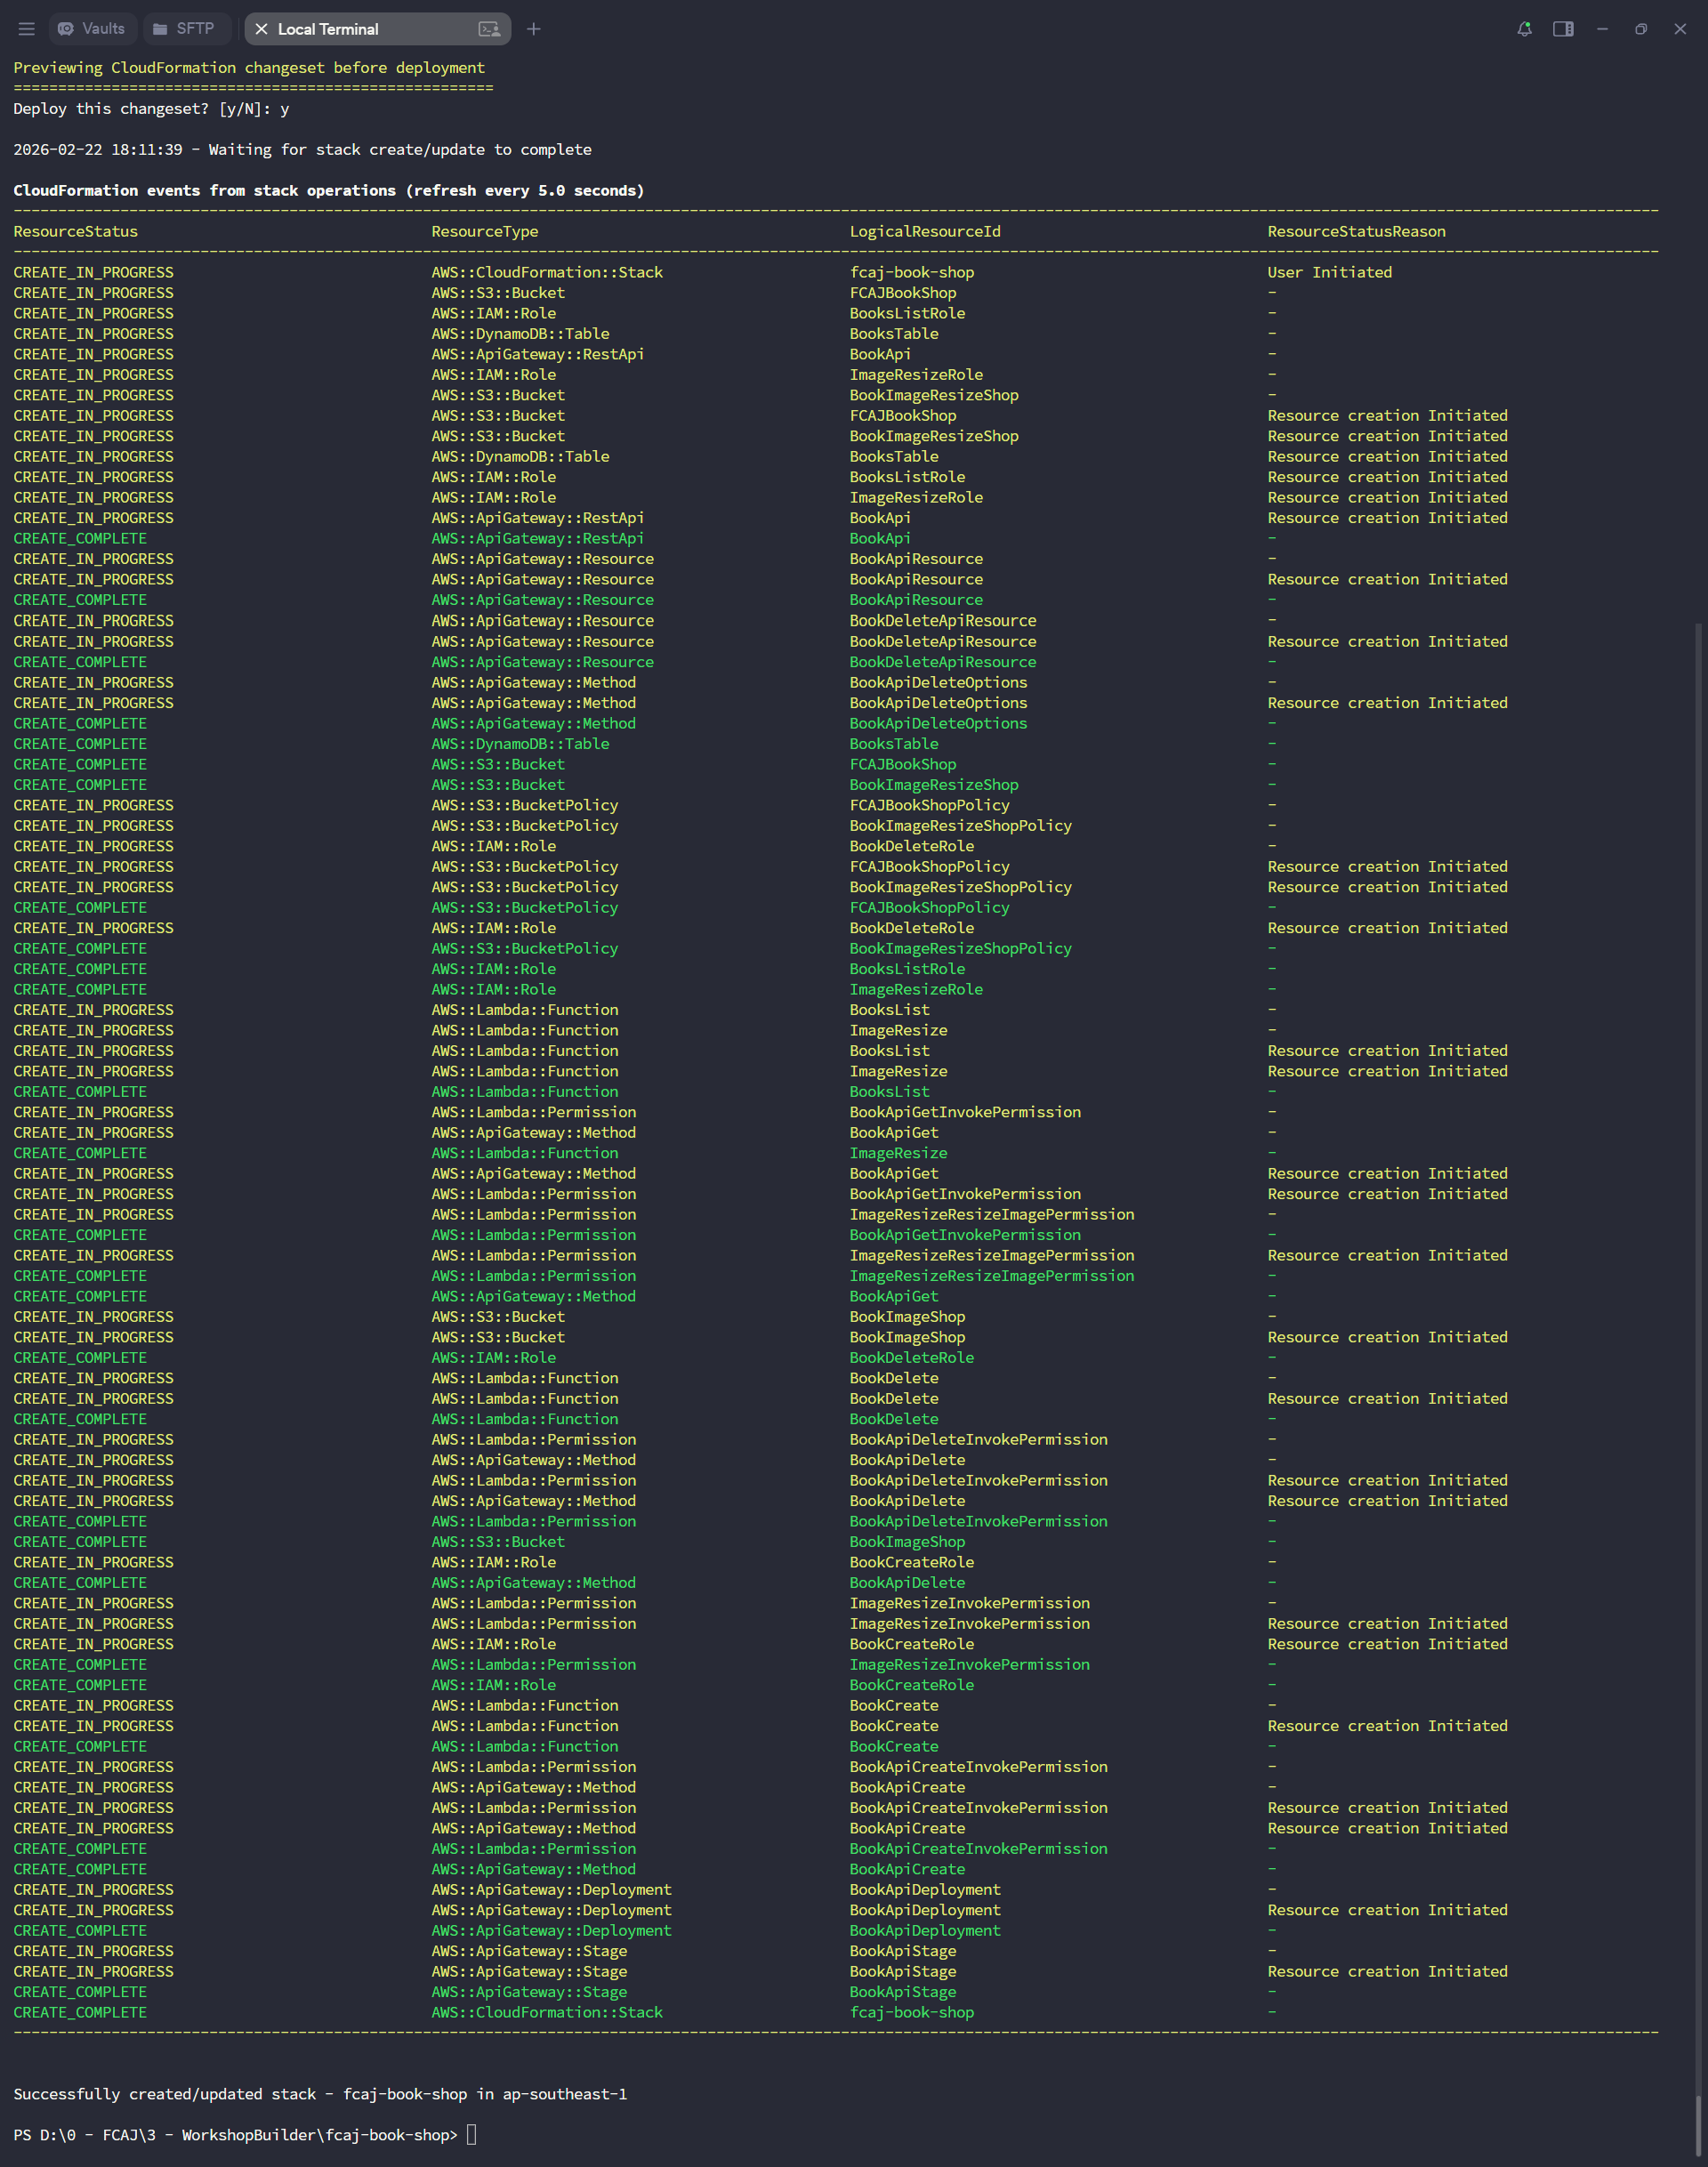
sam deploy --guided, SAM will save the configuration tosamconfig.toml. For all subsequent deploys, you only need to runsam deploywithout--guided.Wait for CloudFormation to finish creating the stack (about 2–3 minutes). You will see “Successfully created/updated stack” when complete.
3. Build and Deploy the Front-end
Clone the front-end source code and install dependencies.
git clone https://github.com/tranvix0910/FCAJ_Workshop-Serverless.git
cd FCAJ_Workshop-Serverless
npm install --force
Since the application may have been built a while ago and not actively maintained during the workshop period, some of its dependencies can become outdated or incompatible with newer versions of Node.js packages. The
--forceflag bypasses these peer dependency conflicts and allows the installation to proceed. This is expected behavior and does not affect the application’s functionality.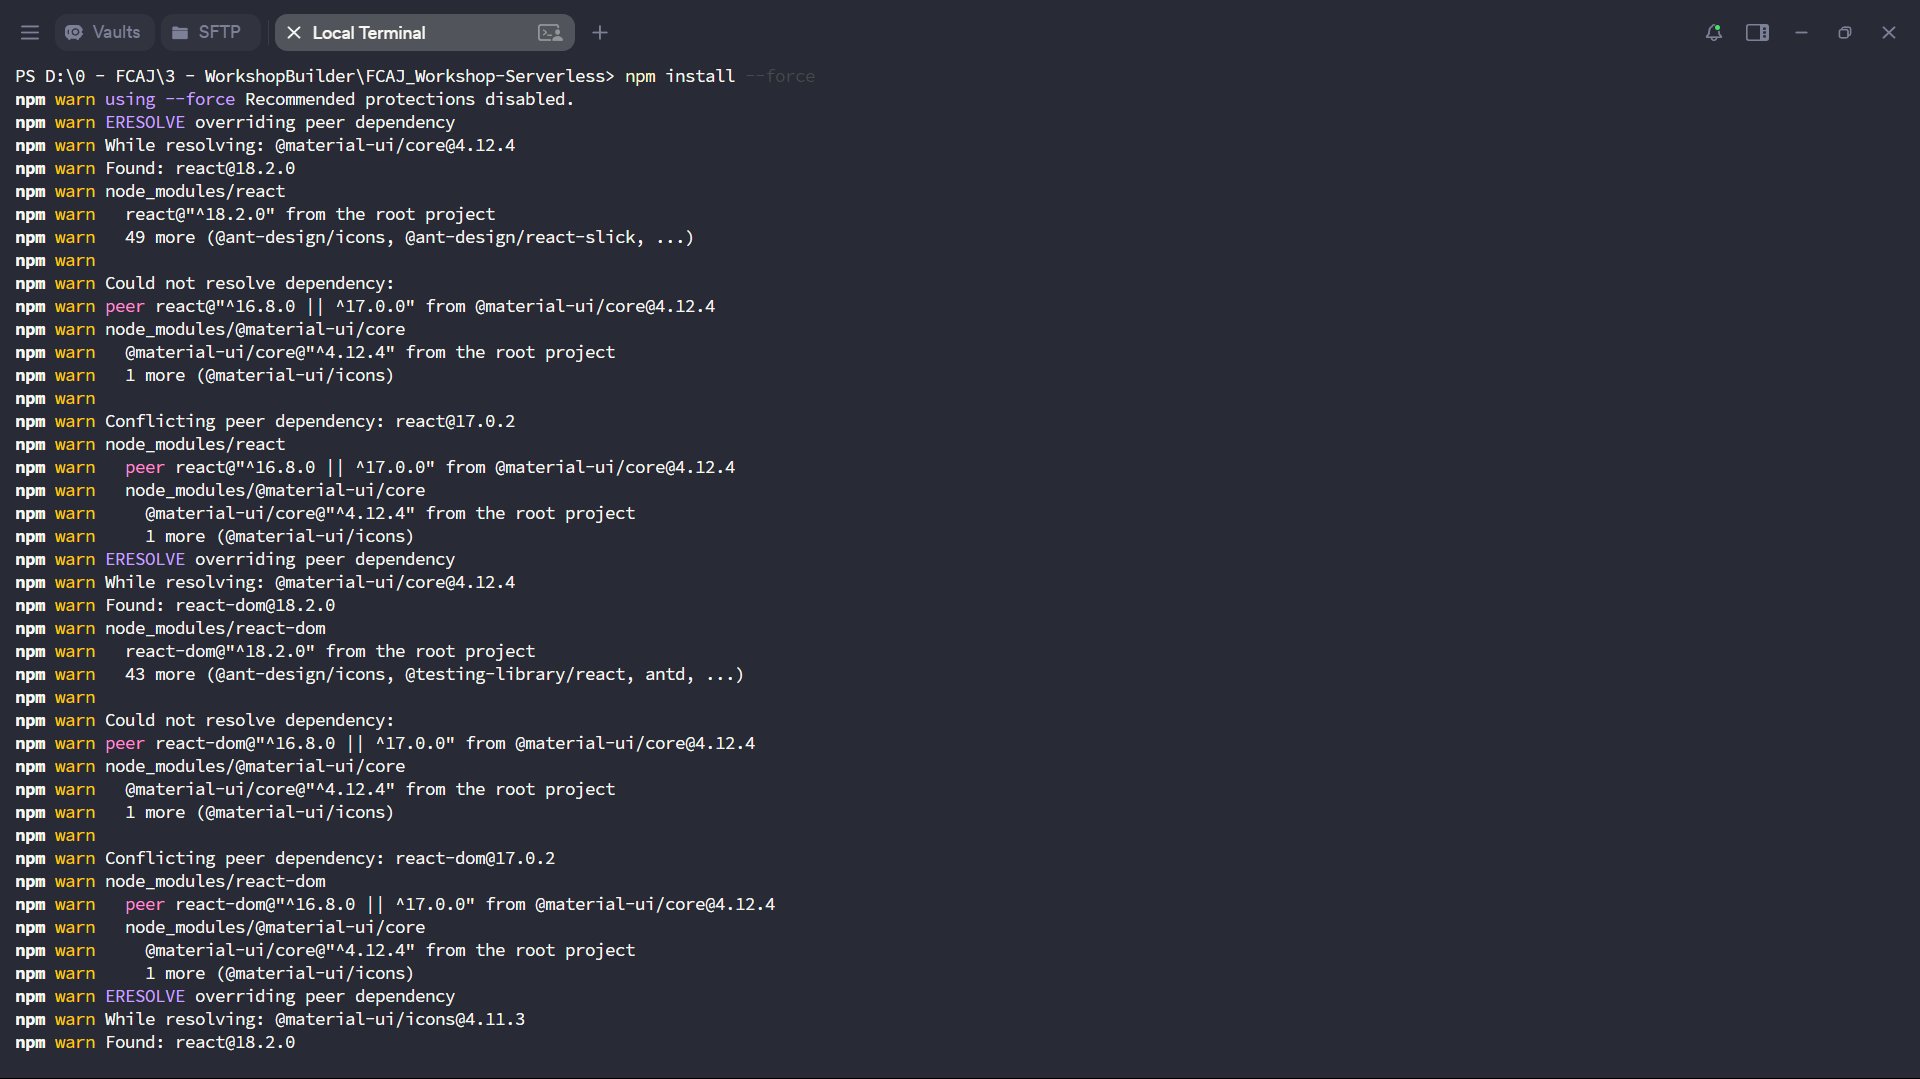
Build the React application.
npm run build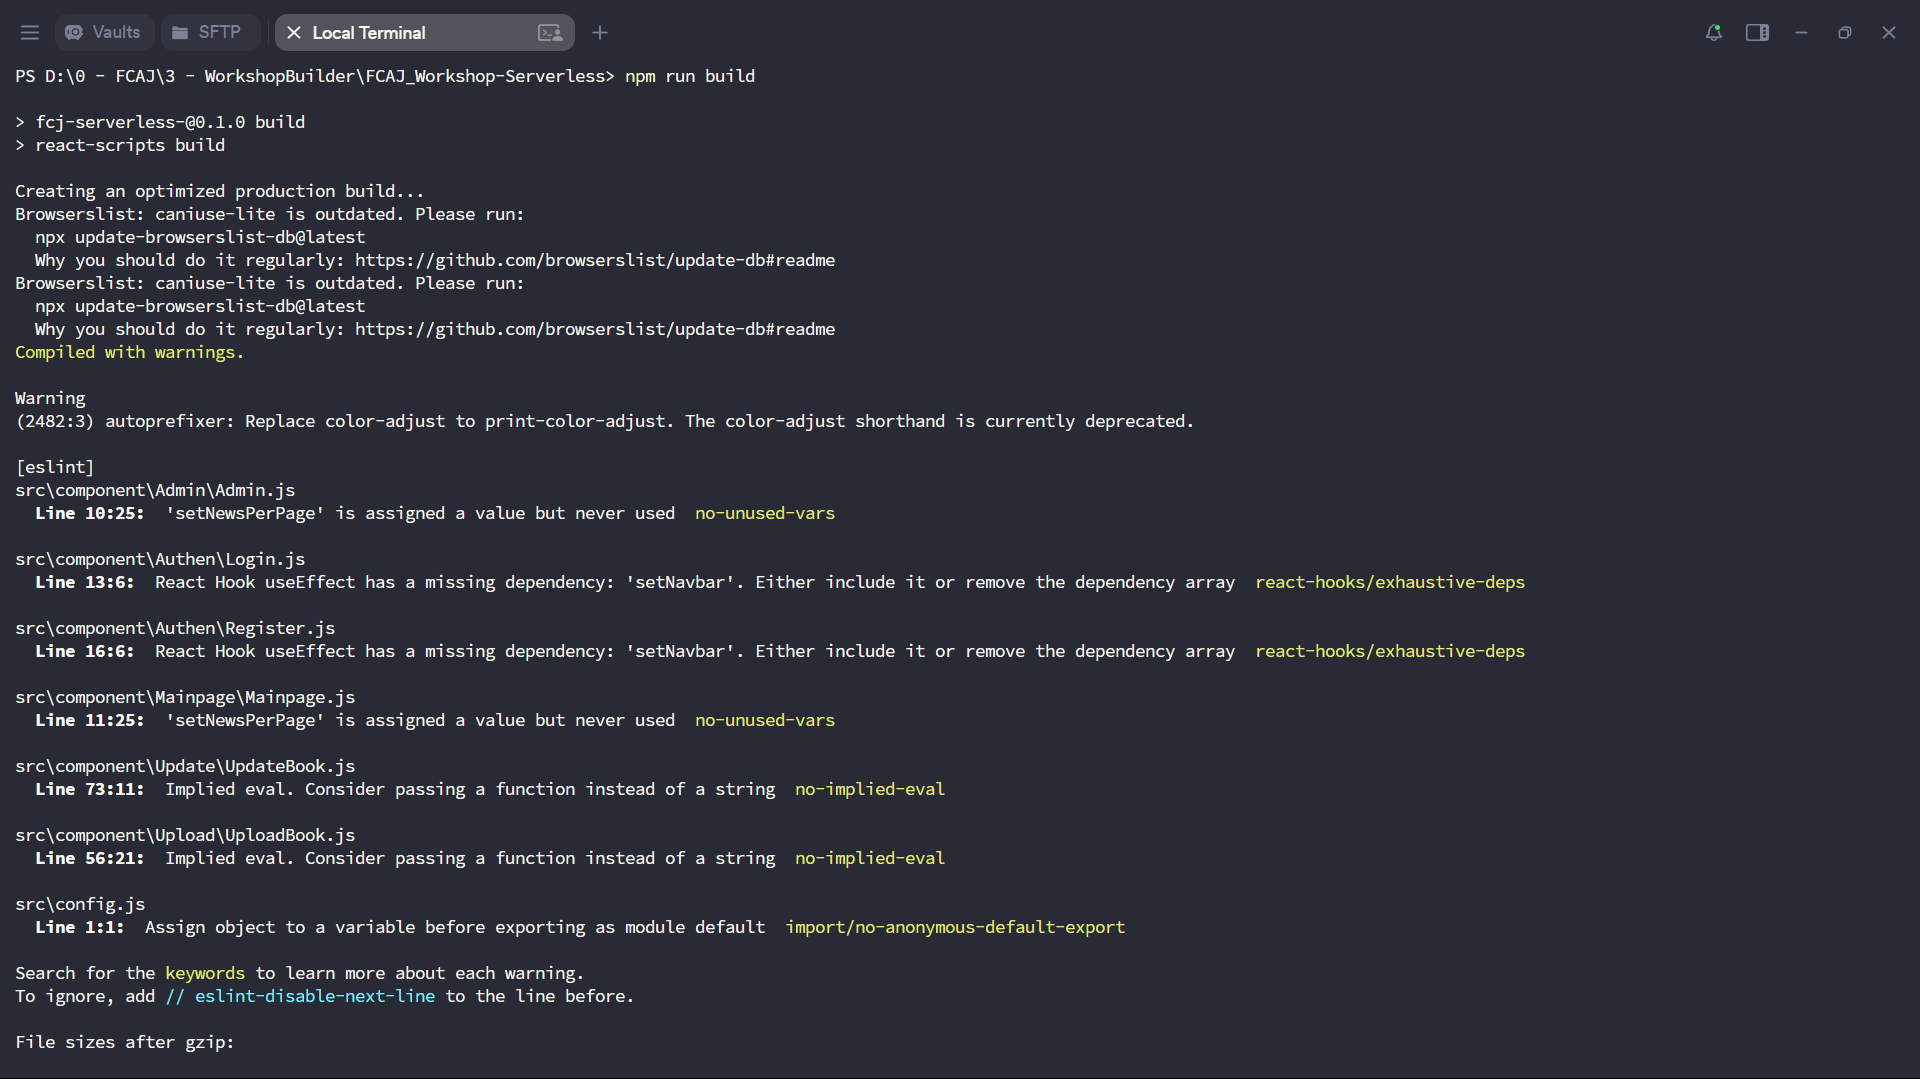
Upload the build folder to your S3 bucket.
Replace
fcaj-book-shop-by-tranvixwith your own S3 bucket name. The bucket must already exist and have Static website hosting enabled. If you haven’t created the bucket yet, refer to Workshop 000080 - Step 4.aws s3 cp build s3://fcaj-book-shop-by-tranvix --recursive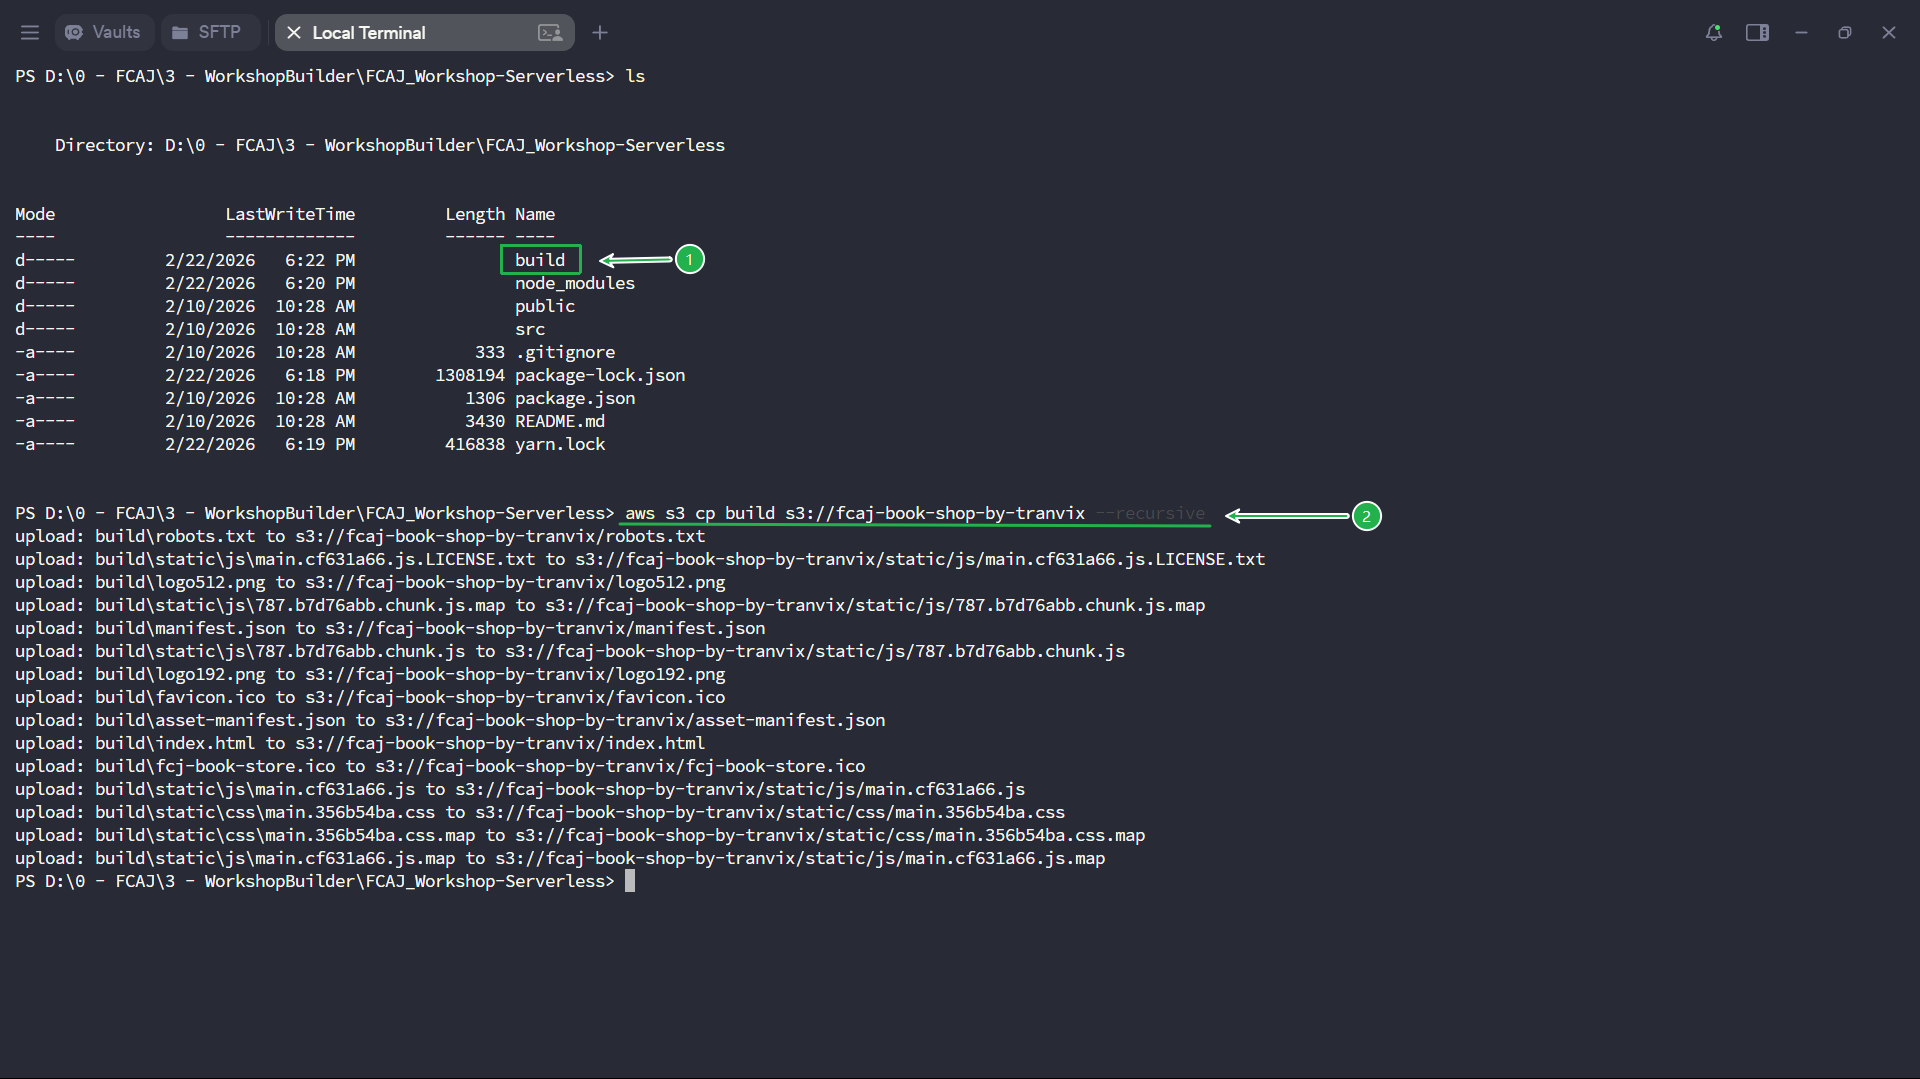
4. Verify the Front-end on S3
Go to the Amazon S3 Console, open your bucket and confirm that the build files have been uploaded successfully.
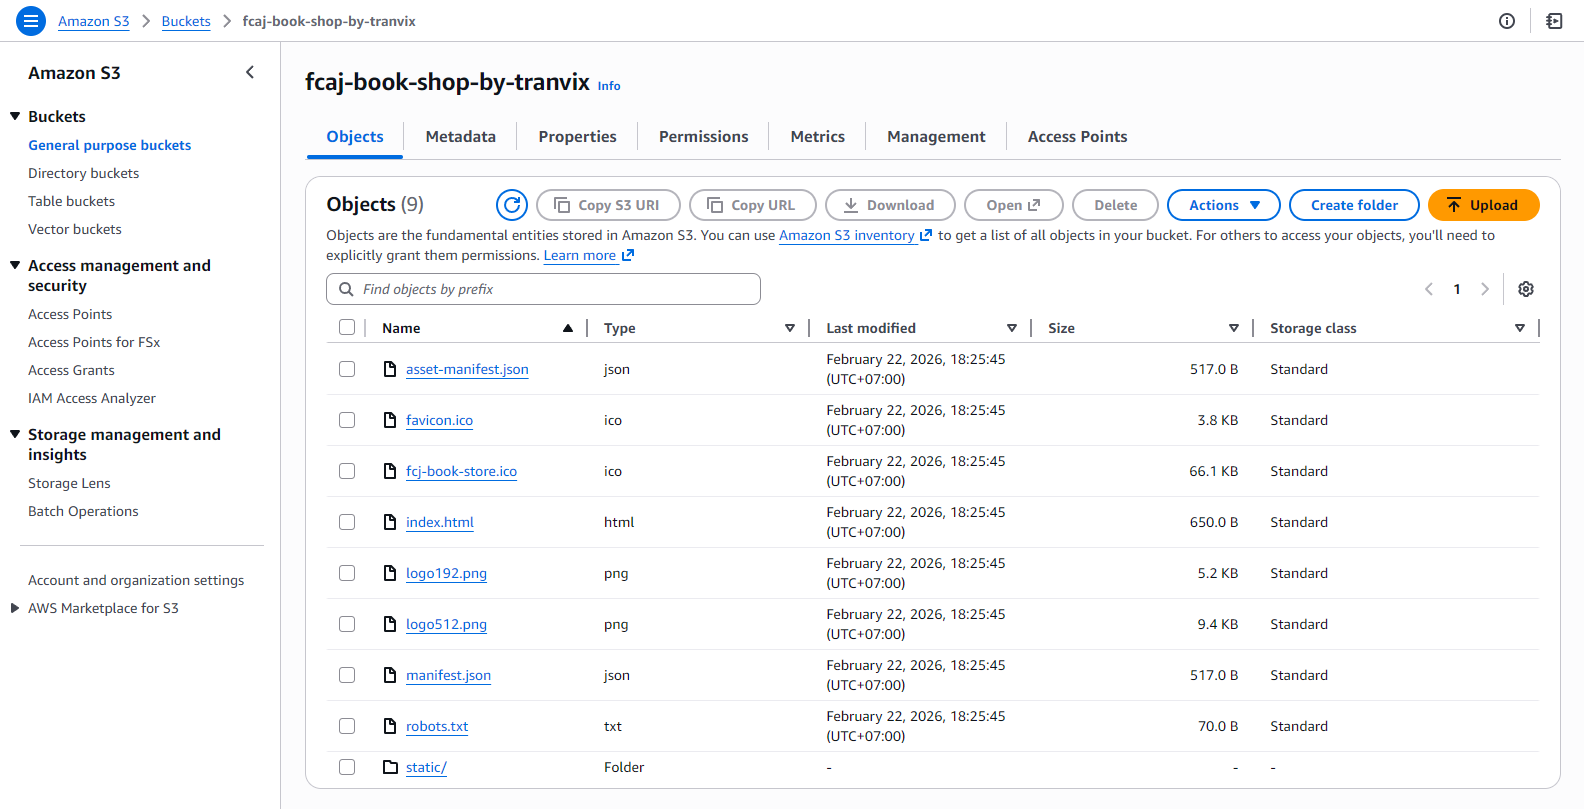
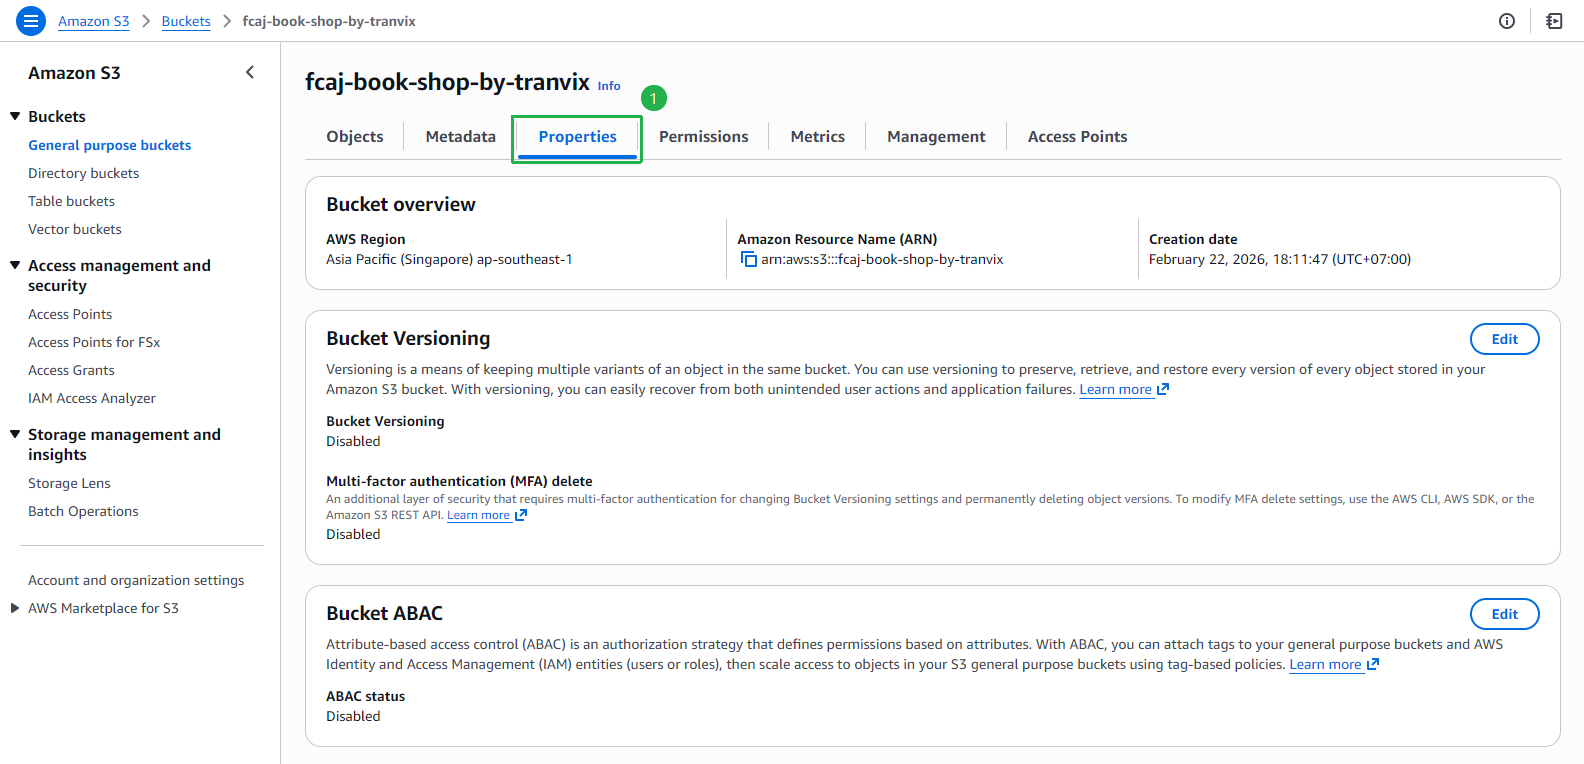
Navigate to the Properties tab of the bucket.
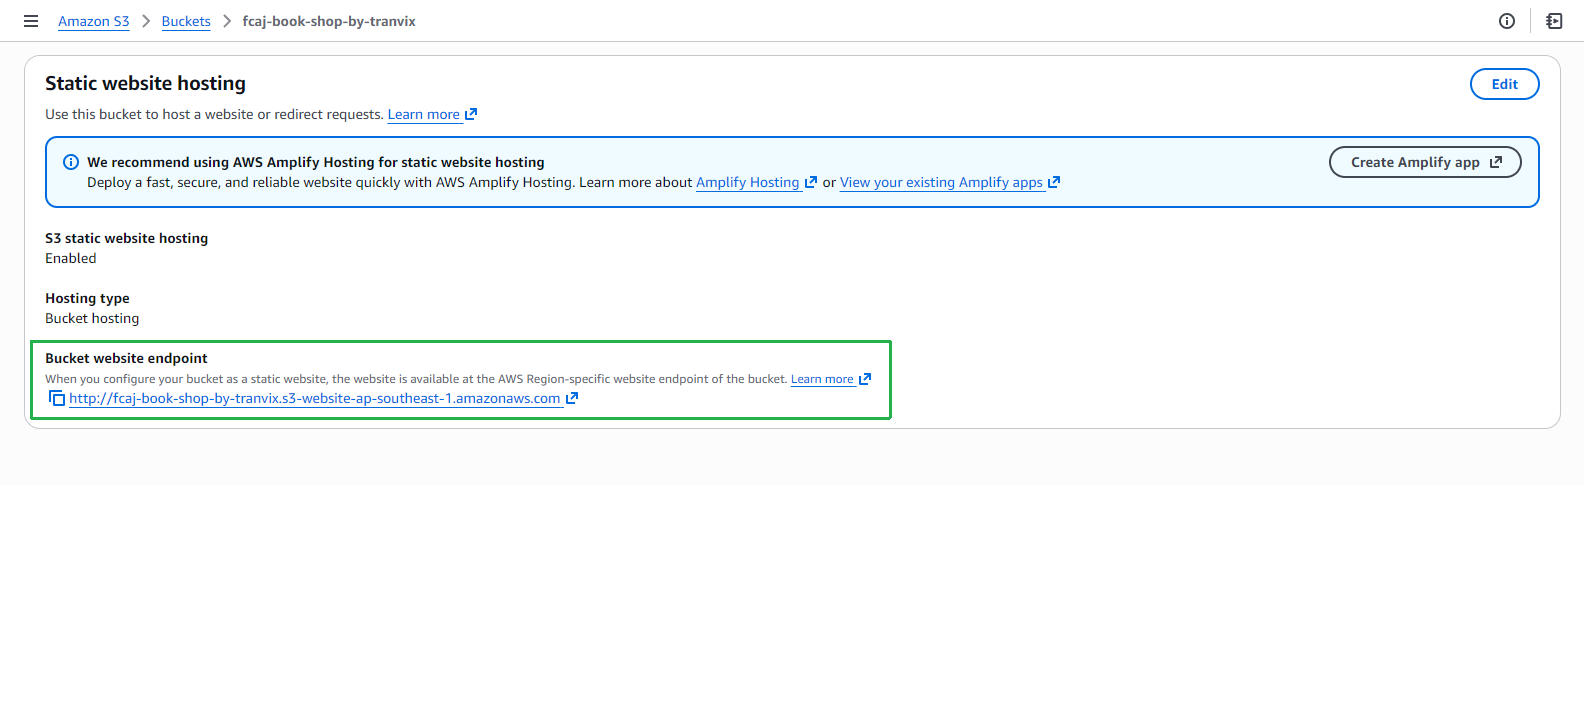
Scroll down to Static website hosting and copy the Bucket website endpoint URL.
Open the URL in a browser to verify the FCJ Book Store application is running correctly.
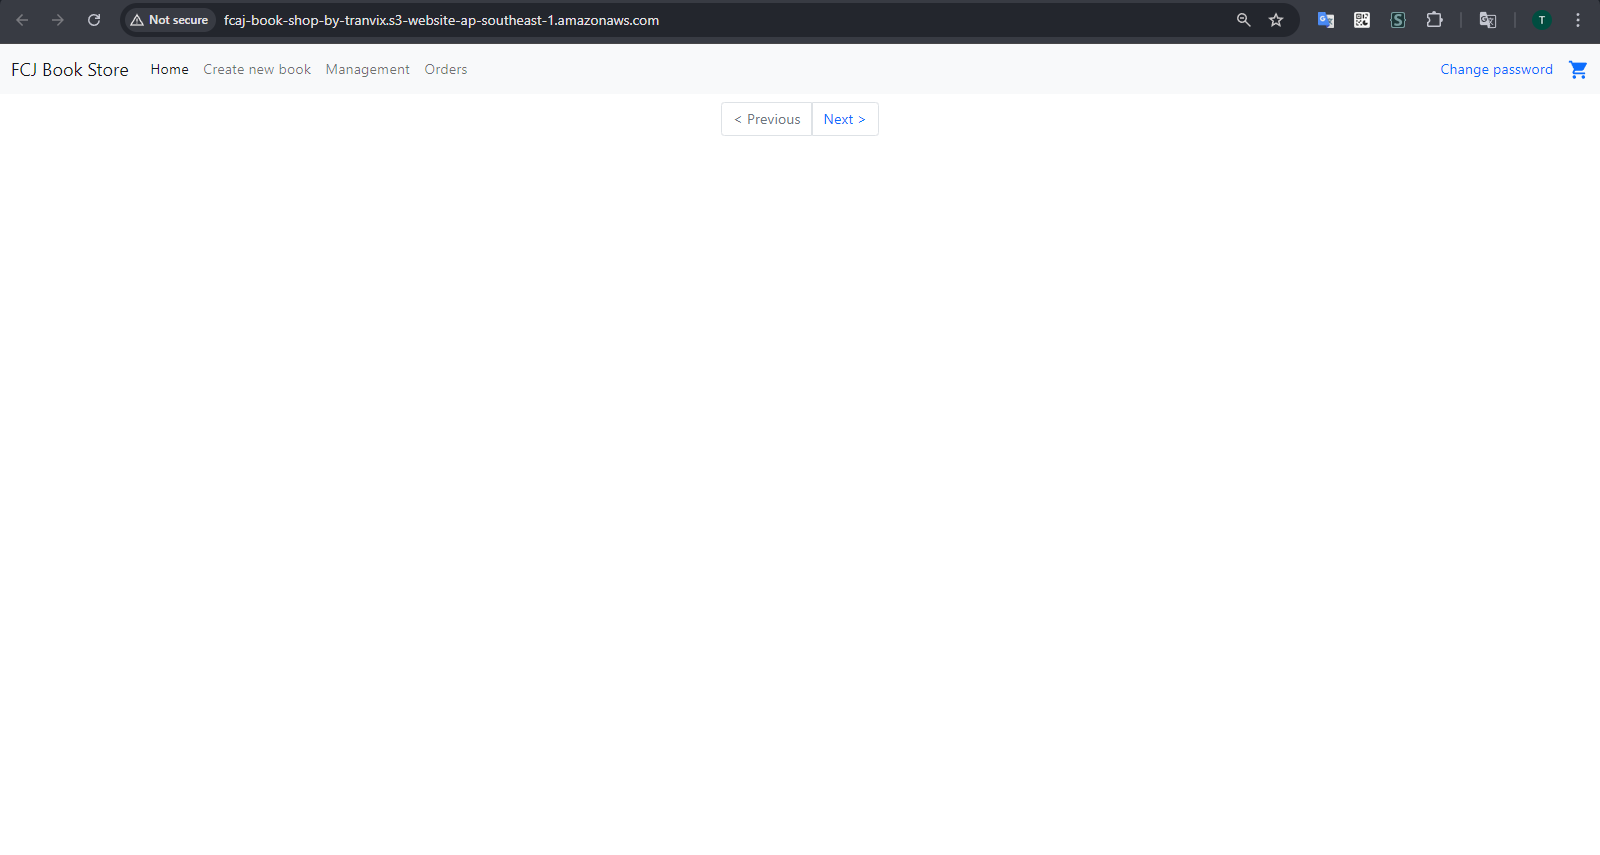
At this stage, the Sign In and Sign Up buttons in the application are not yet functional. We will implement the authentication features in the following sections using Amazon Cognito and AWS Lambda.
We have successfully set up the back-end infrastructure and the front-end application. We are now ready for the main content of the workshop.