Test with Front-end
In this section, we will update the front-end application to point to the new API endpoints and test the full authentication flow: Register → Confirm email → Login.
Step 1 — Get the API Gateway Invoke URL
- Open API Gateway console.
Confirm that fcaj-serverless-api appears in the list.
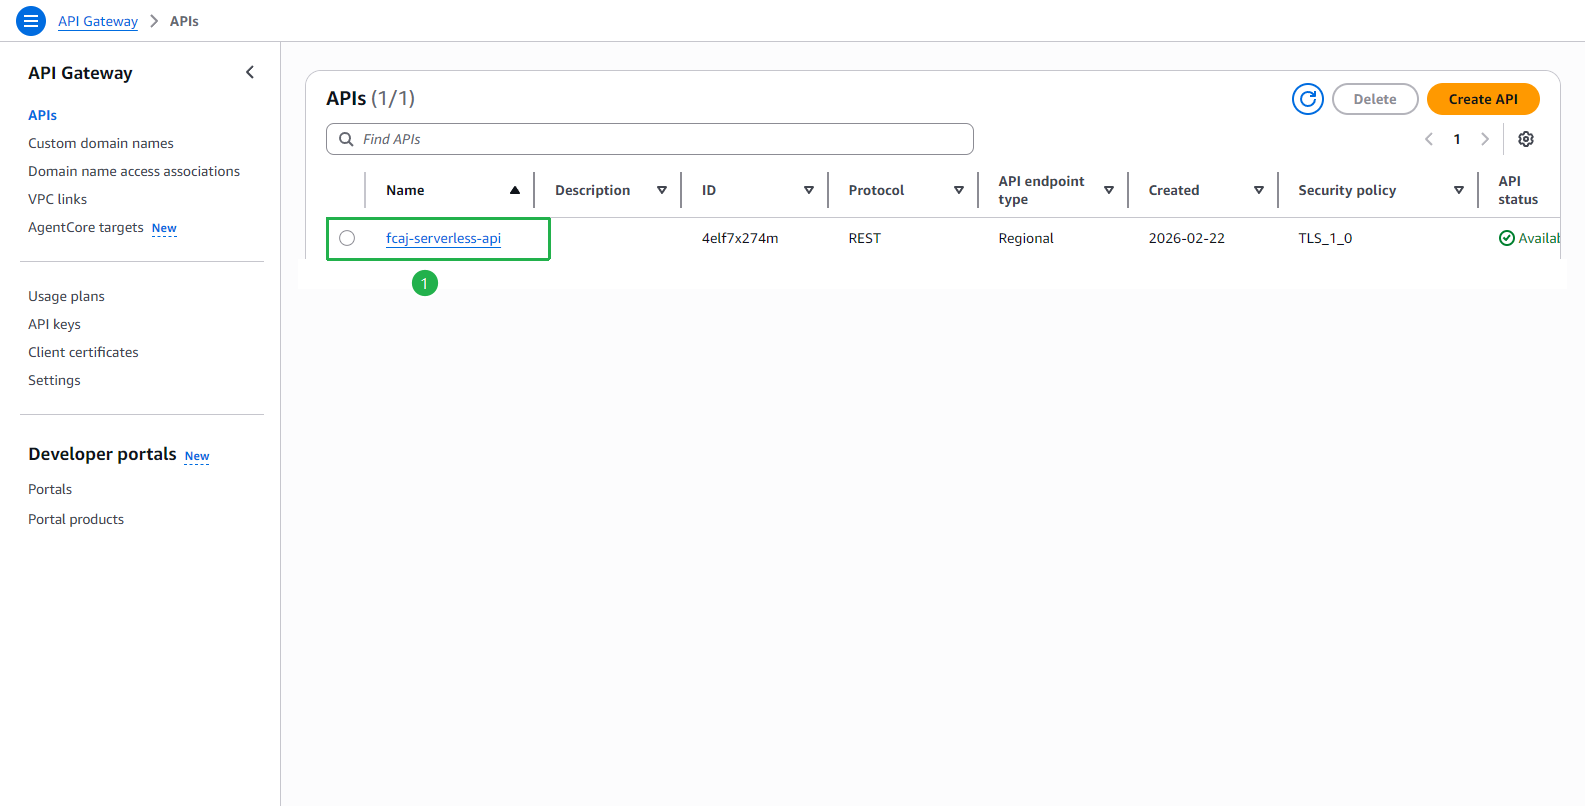
Click on fcaj-serverless-api.
Click Stages on the left menu.
Select the staging stage.
Copy the Invoke URL (e.g.,
https://4elf7x274m.execute-api.ap-southeast-1.amazonaws.com/staging).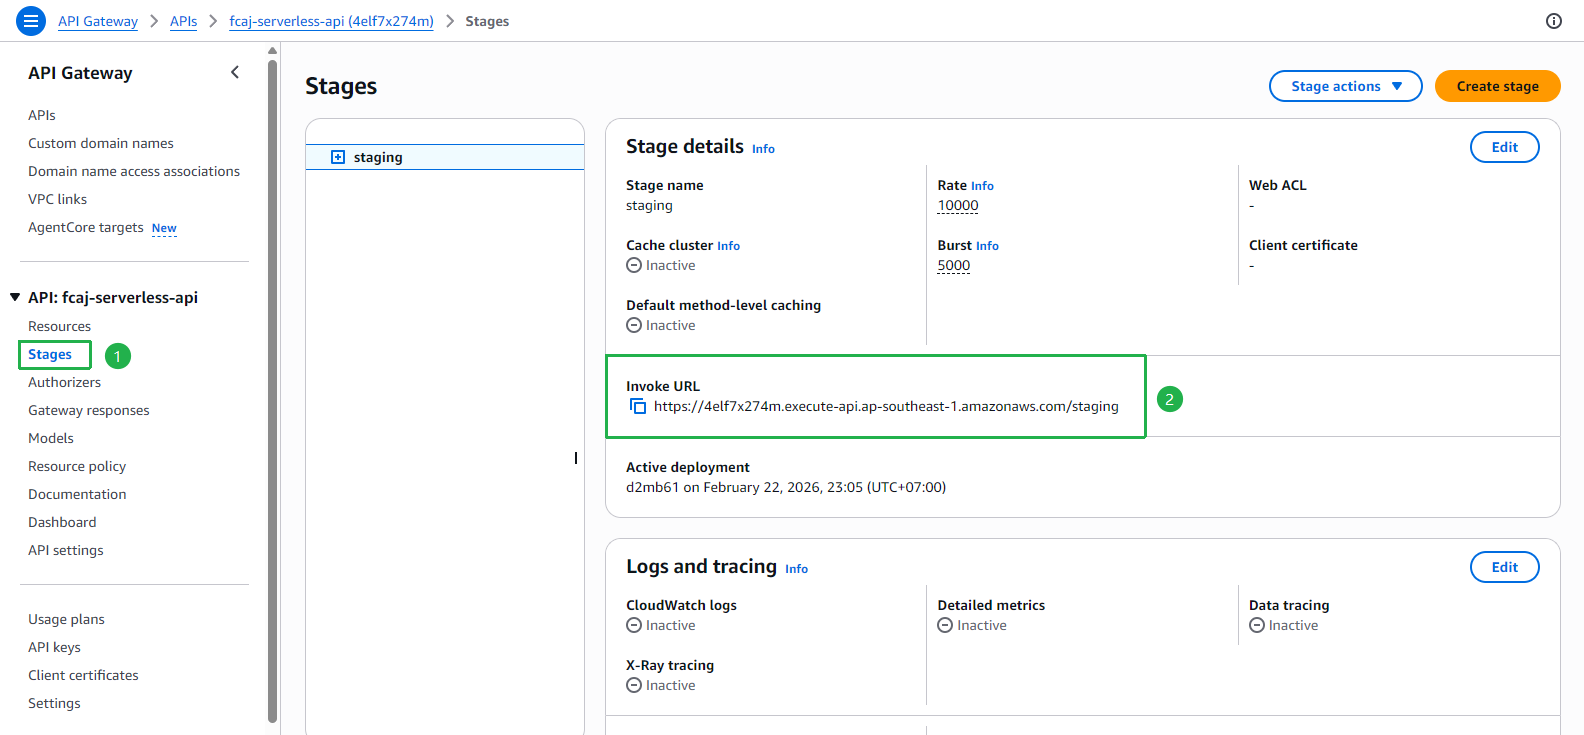
Step 2 — Update config.js with the Invoke URL
Open the FCAJ_Workshop-Serverless front-end project in your code editor.
Navigate to
src/config.js.Replace the value of
APP_API_URLwith the Invoke URL you copied in Step 1.export default { APP_API_URL: "https://4elf7x274m.execute-api.ap-southeast-1.amazonaws.com/staging", DEFAULT_REGION: "ap-southeast-1" };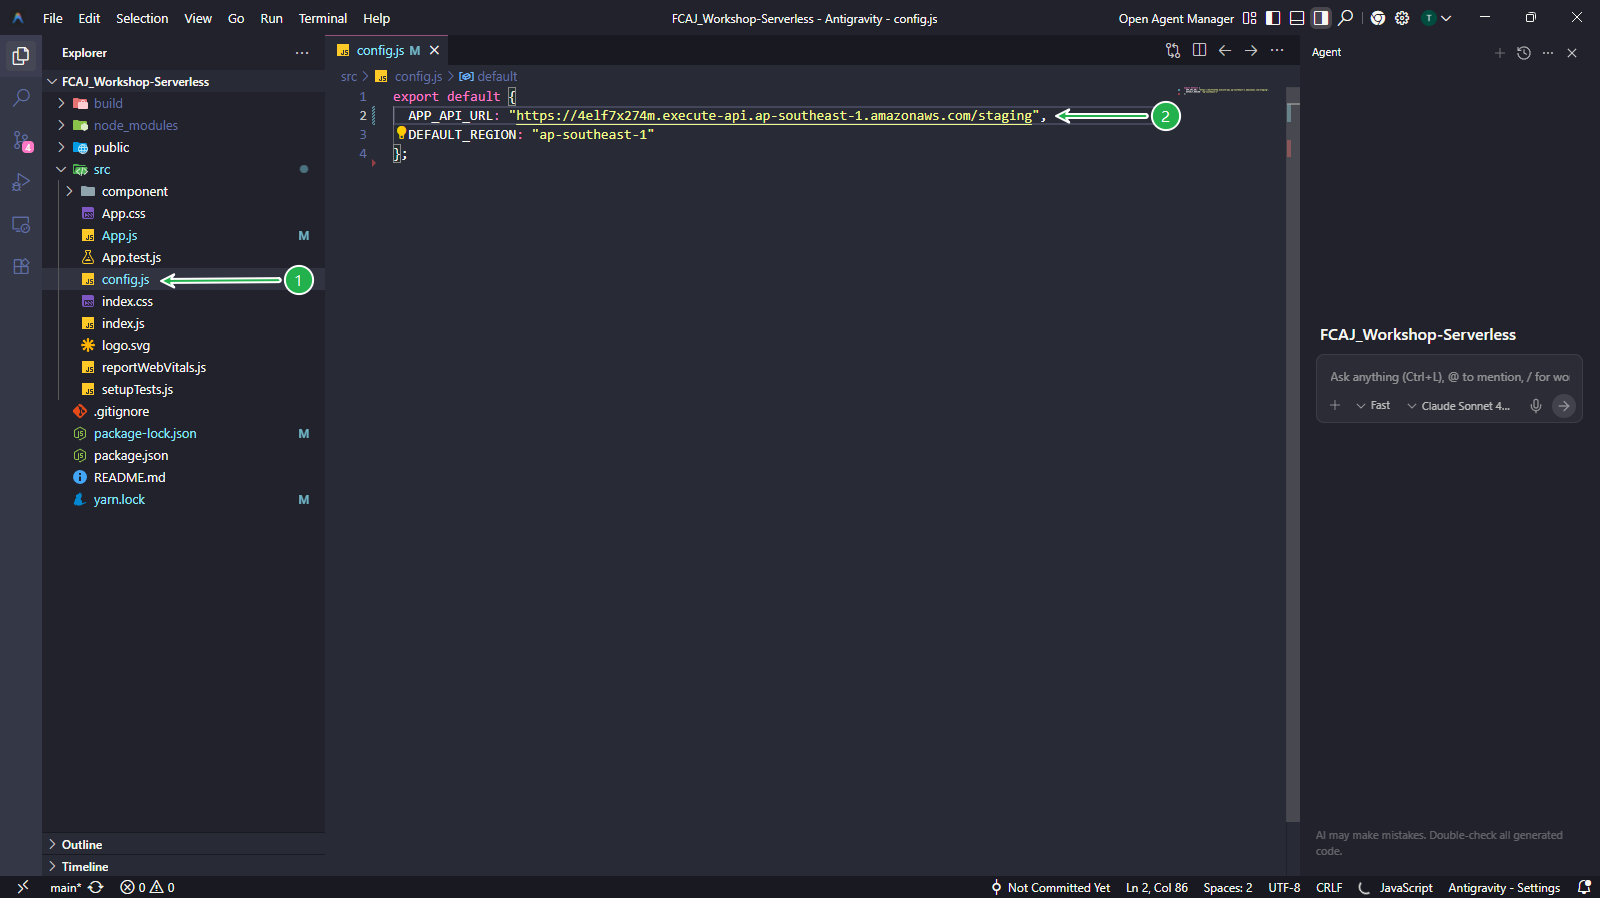
Step 3 — Rebuild and Redeploy the Front-end
In your terminal, navigate to the
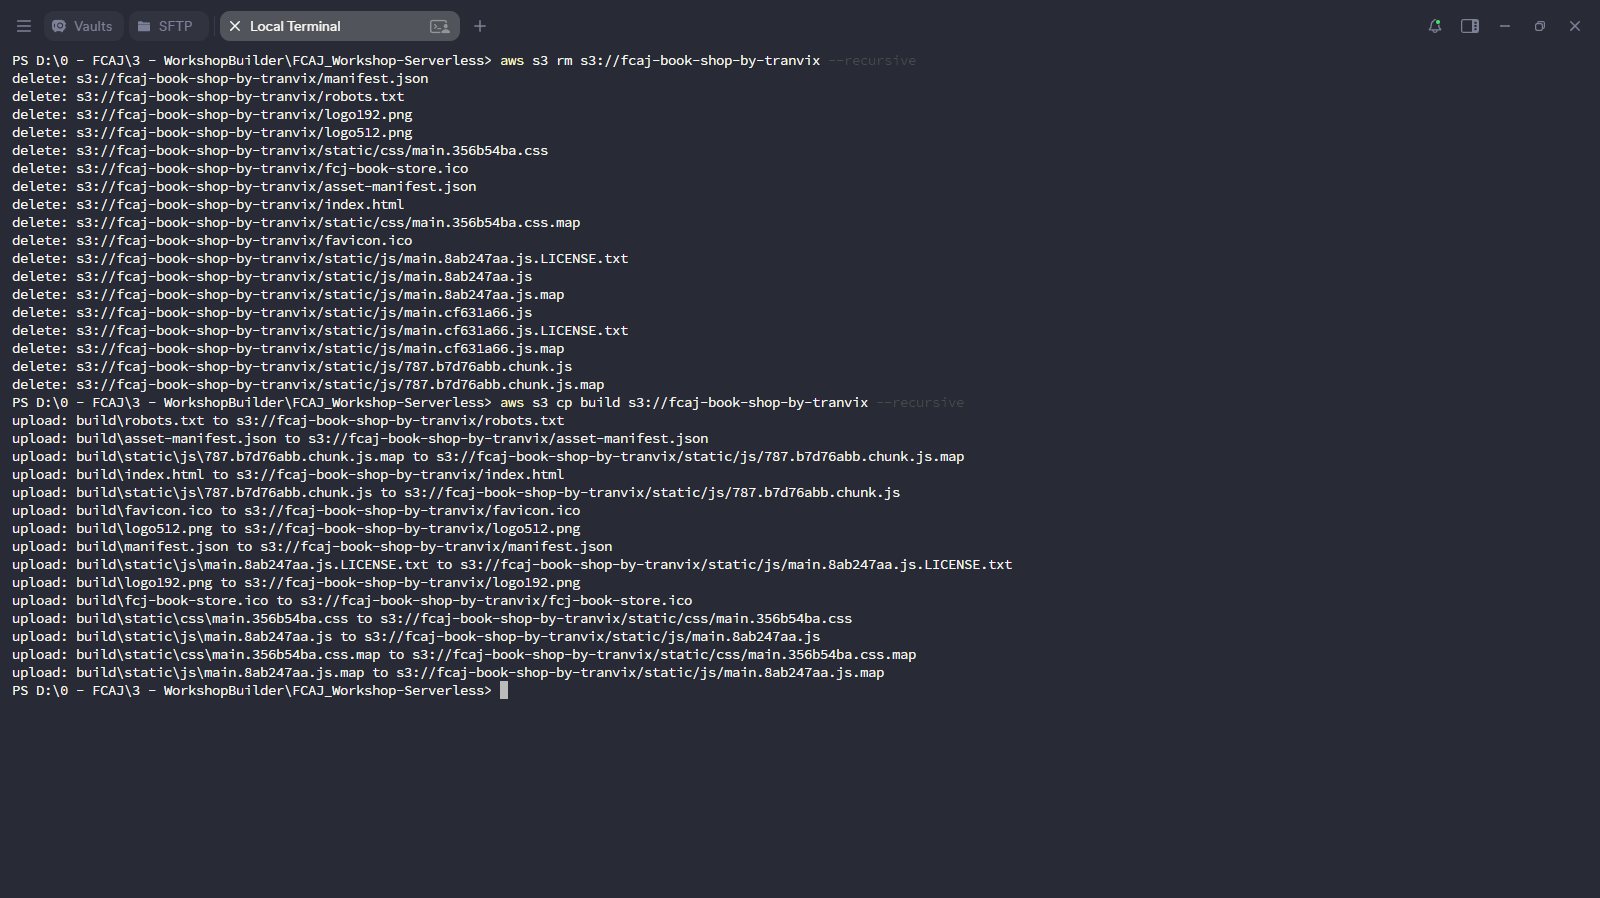
FCAJ_Workshop-Serverlessdirectory and run the following commands.npm run build aws s3 rm s3://fcaj-book-shop-by-tranvix --recursive aws s3 cp build s3://fcaj-book-shop-by-tranvix --recursiveWe first delete all existing files in the S3 bucket with
aws s3 rm --recursive, then upload the new build. This ensures no stale files remain from the previous deployment.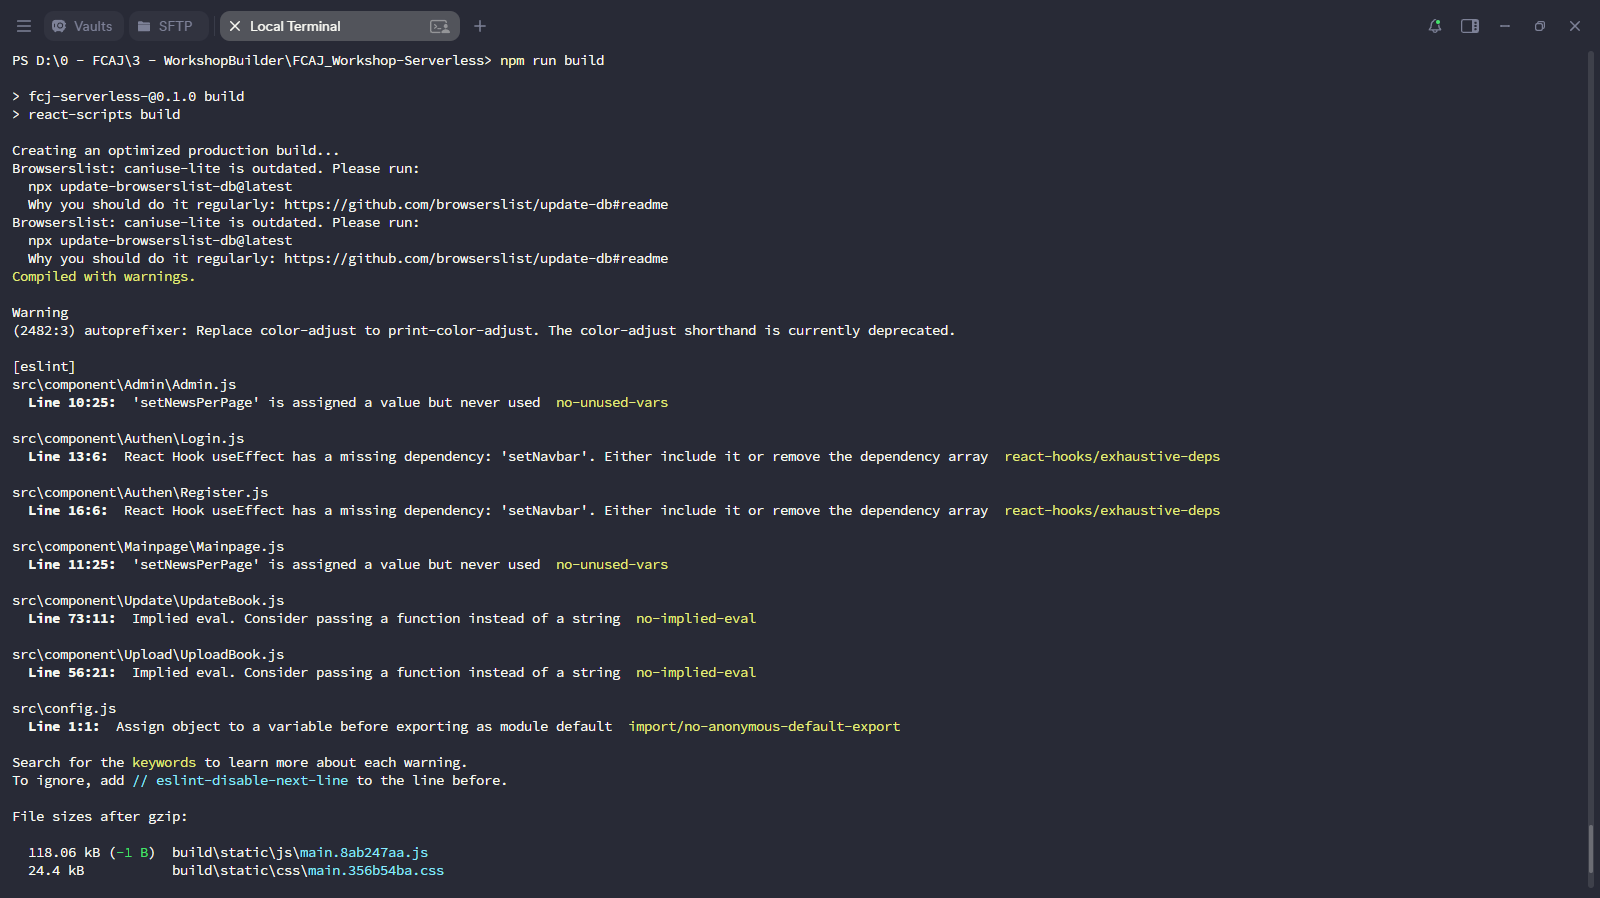
Step 4 — Get the S3 Website Endpoint
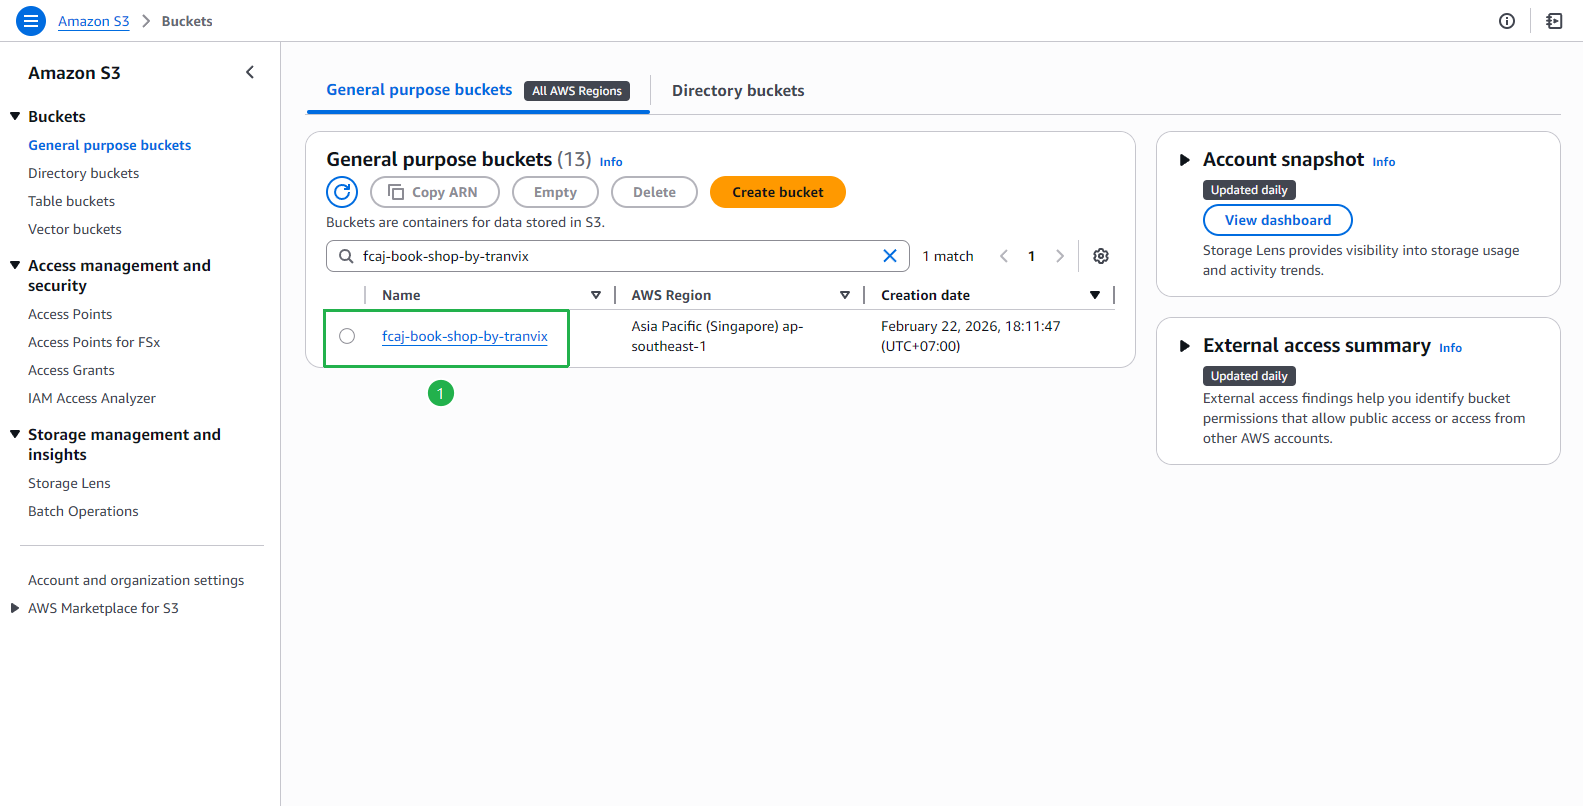
Open Amazon S3 Console and find your bucket.
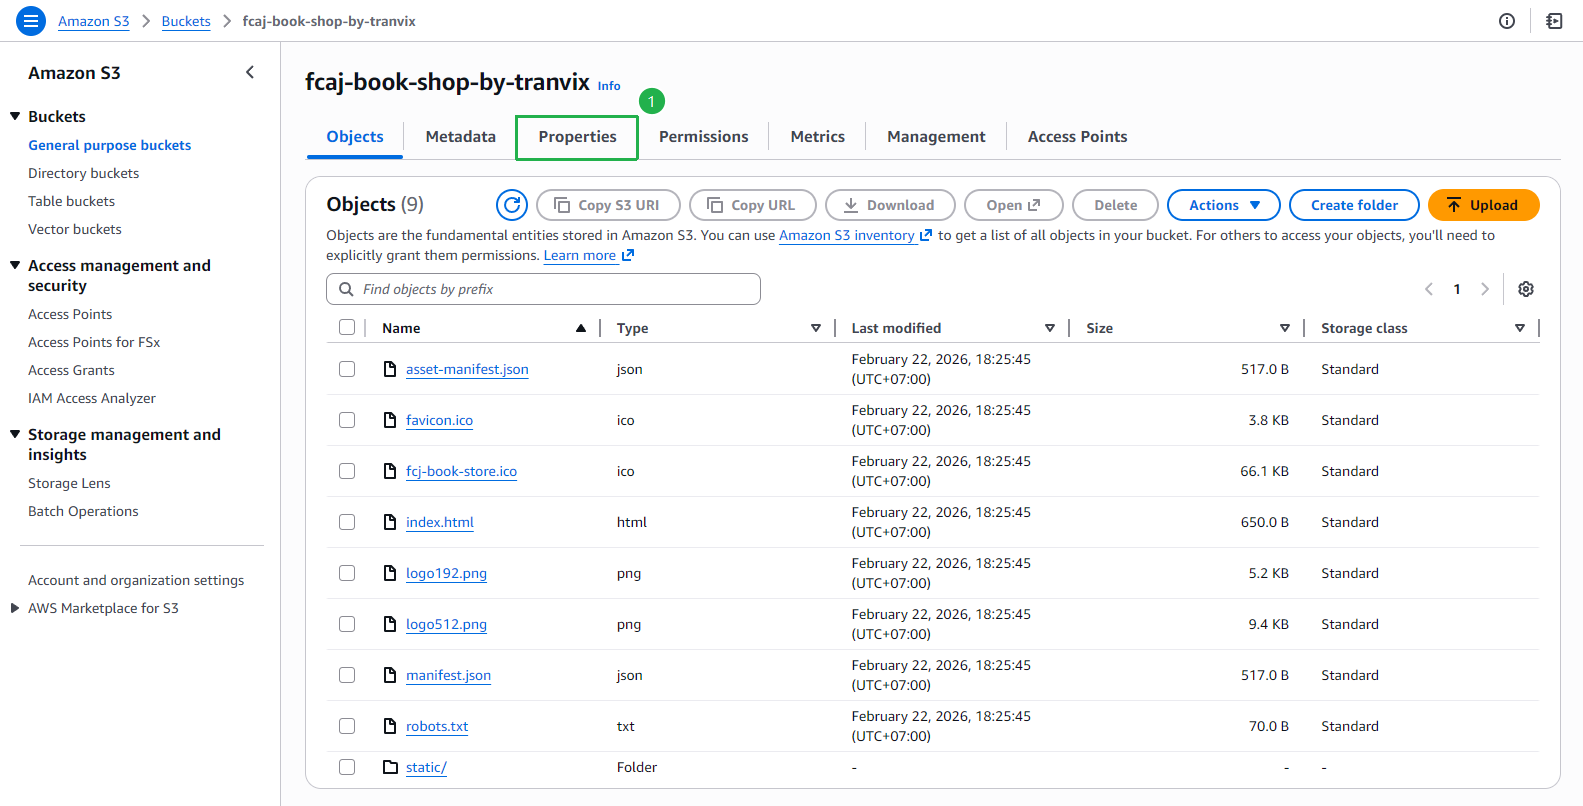
Click on the bucket name. Confirm that all 9 objects have been uploaded successfully, then click the Properties tab.
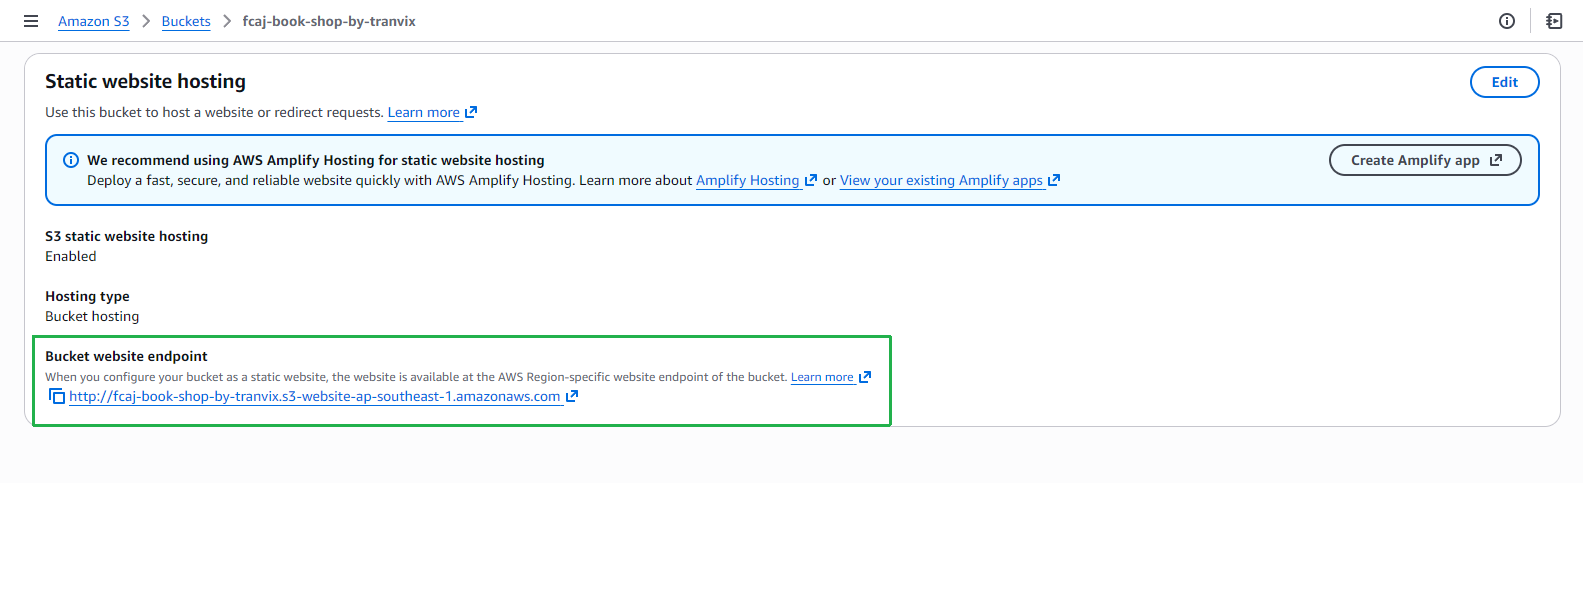
Scroll down to Static website hosting and copy the Bucket website endpoint URL.
Step 5 — Test Registration Flow
Open the Bucket website endpoint URL in your browser. The FCJ Book Store application will appear.
Click Register in the top-right corner.
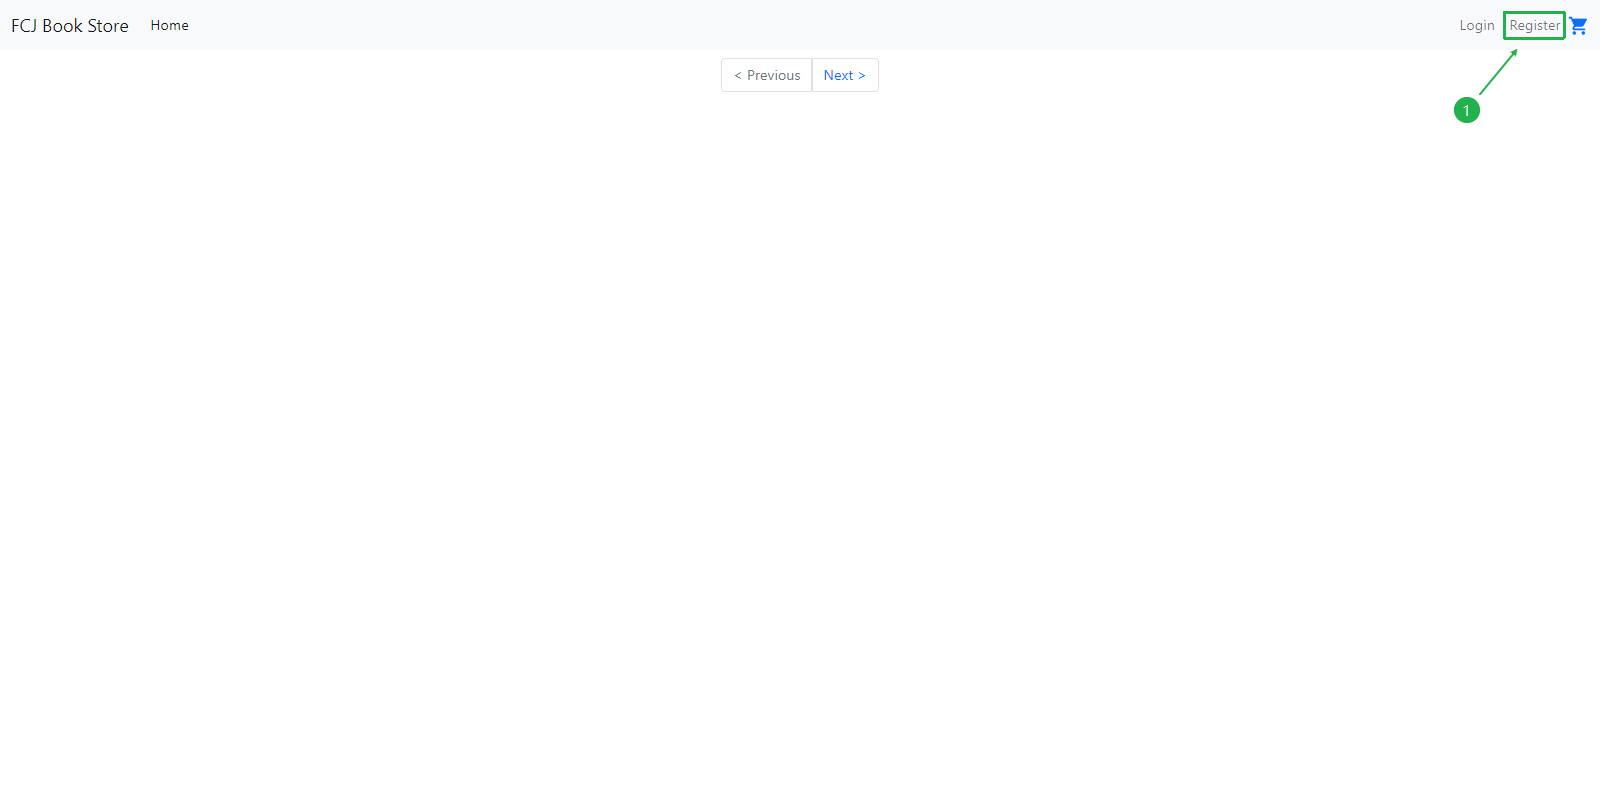
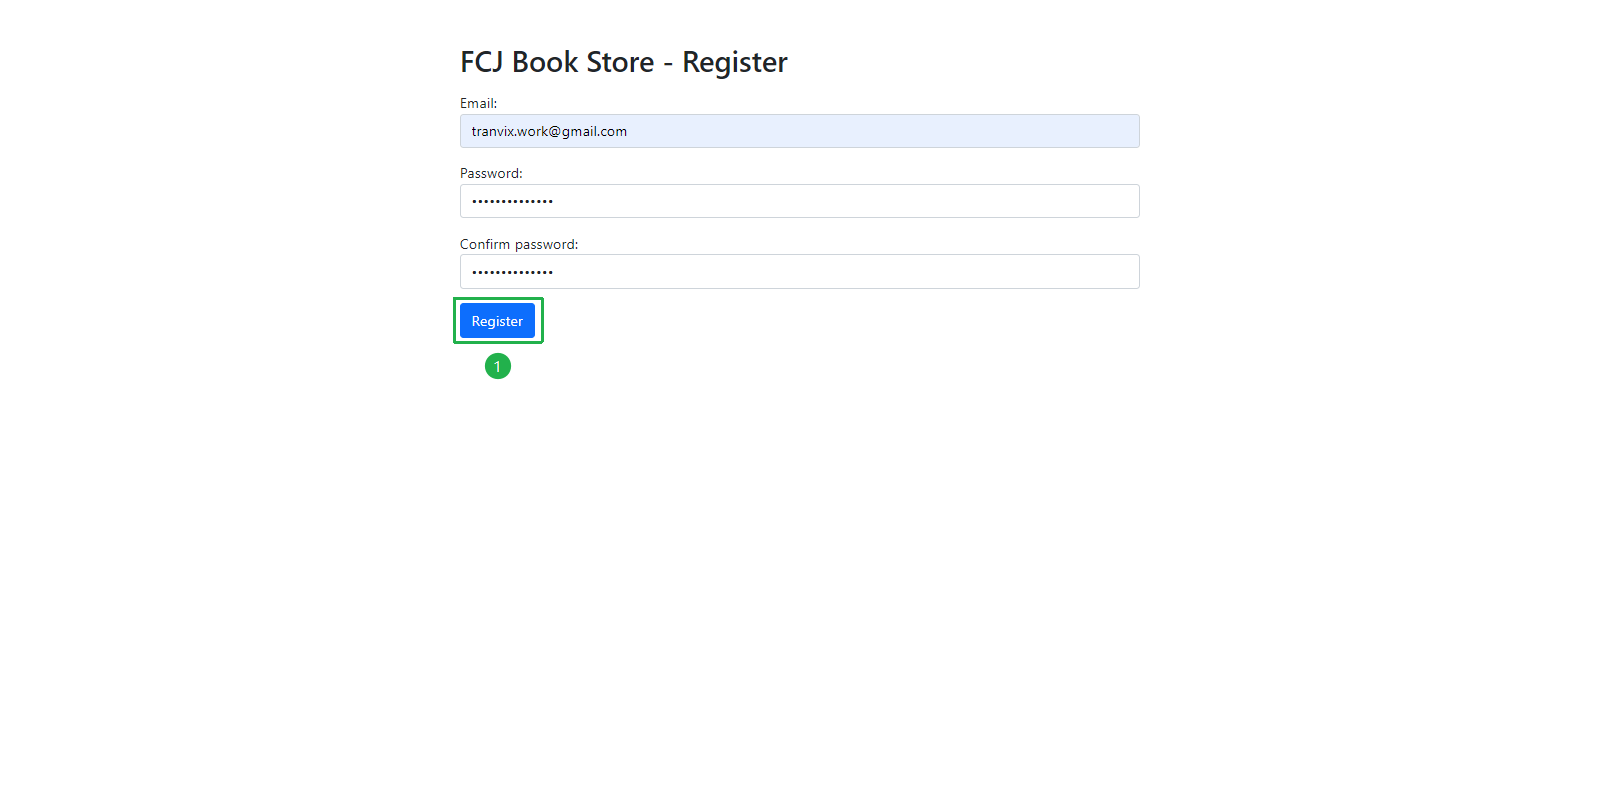
At the FCJ Book Store - Register page:
Enter your Email address.
Enter a Password (must meet Cognito’s policy: at least 8 characters).
Re-enter the password in Confirm password.
Click Register.
Use a real email address you have access to. Cognito will automatically send a verification code to this email.
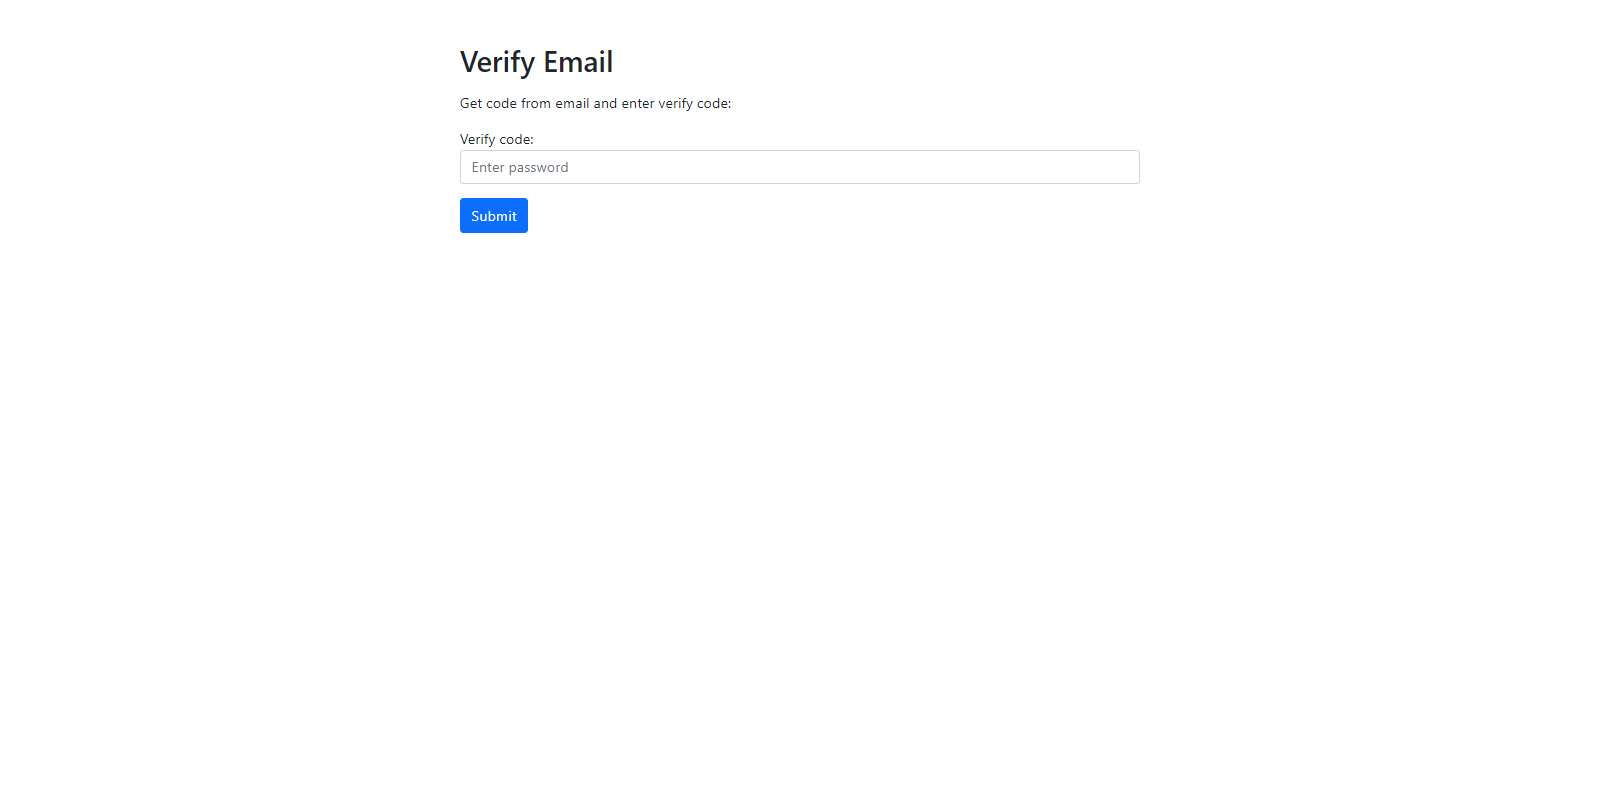
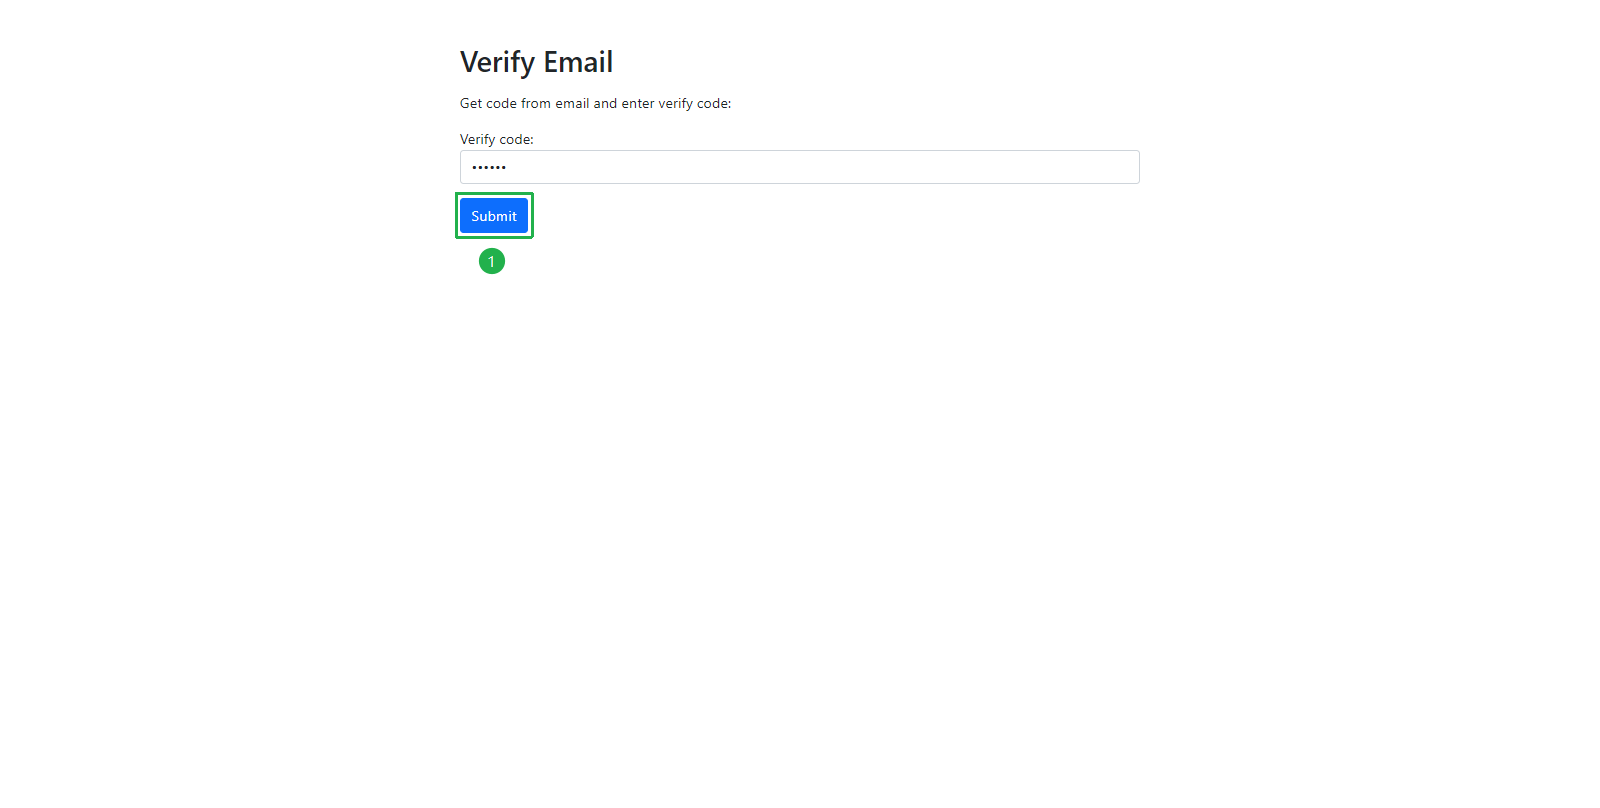
After clicking Register, you will be redirected to the Verify Email page.
Open your email inbox and look for an email from
no-reply@verificationemail.comwith subject “Your verification code”. Copy the 6-digit code.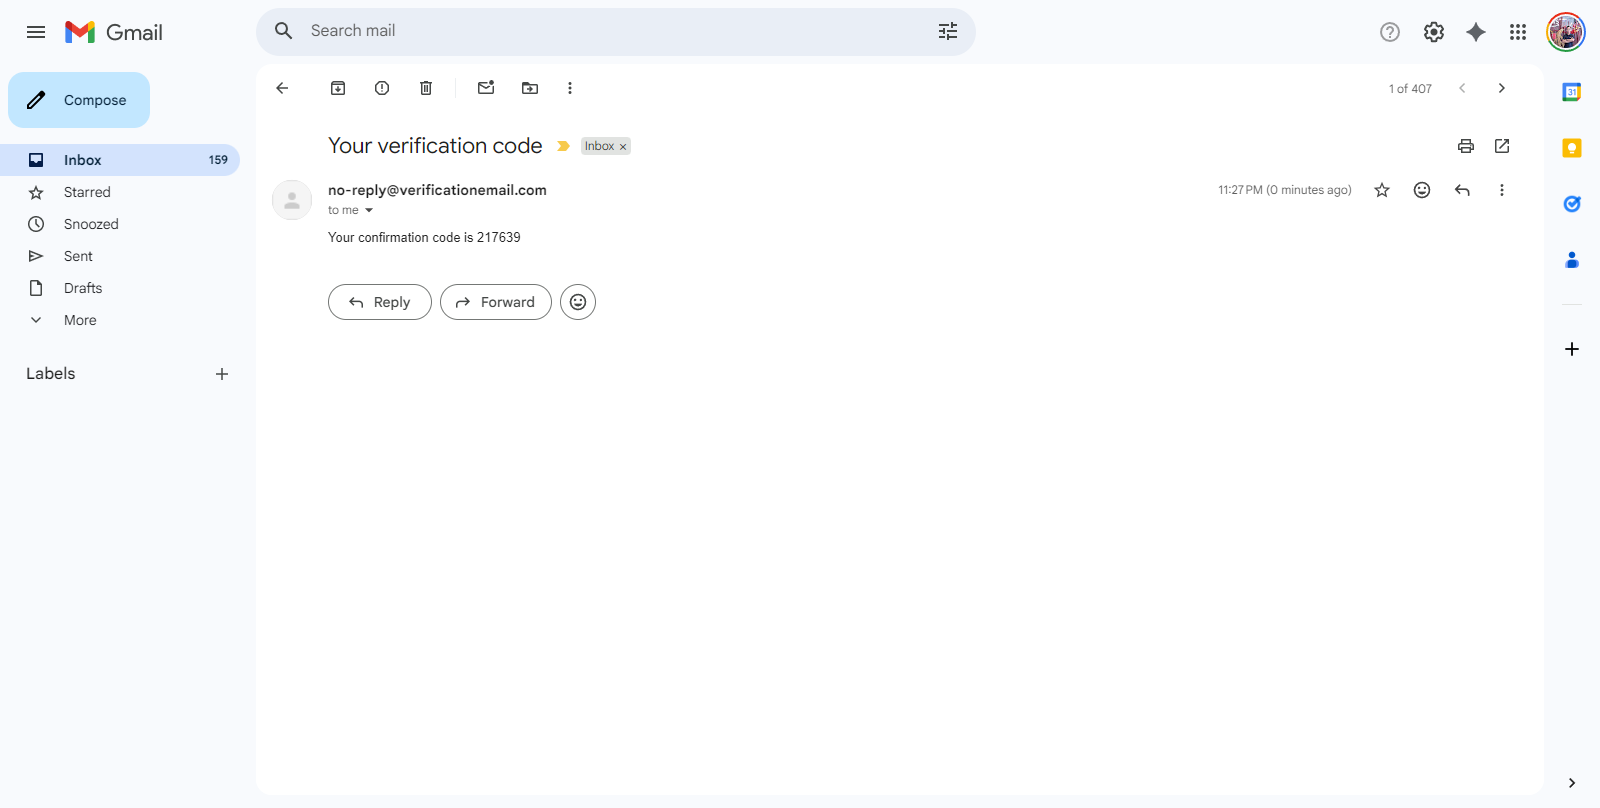
Back on the Verify Email page:
Enter the confirmation code.
Click Submit.
Step 6 — Test Login Flow
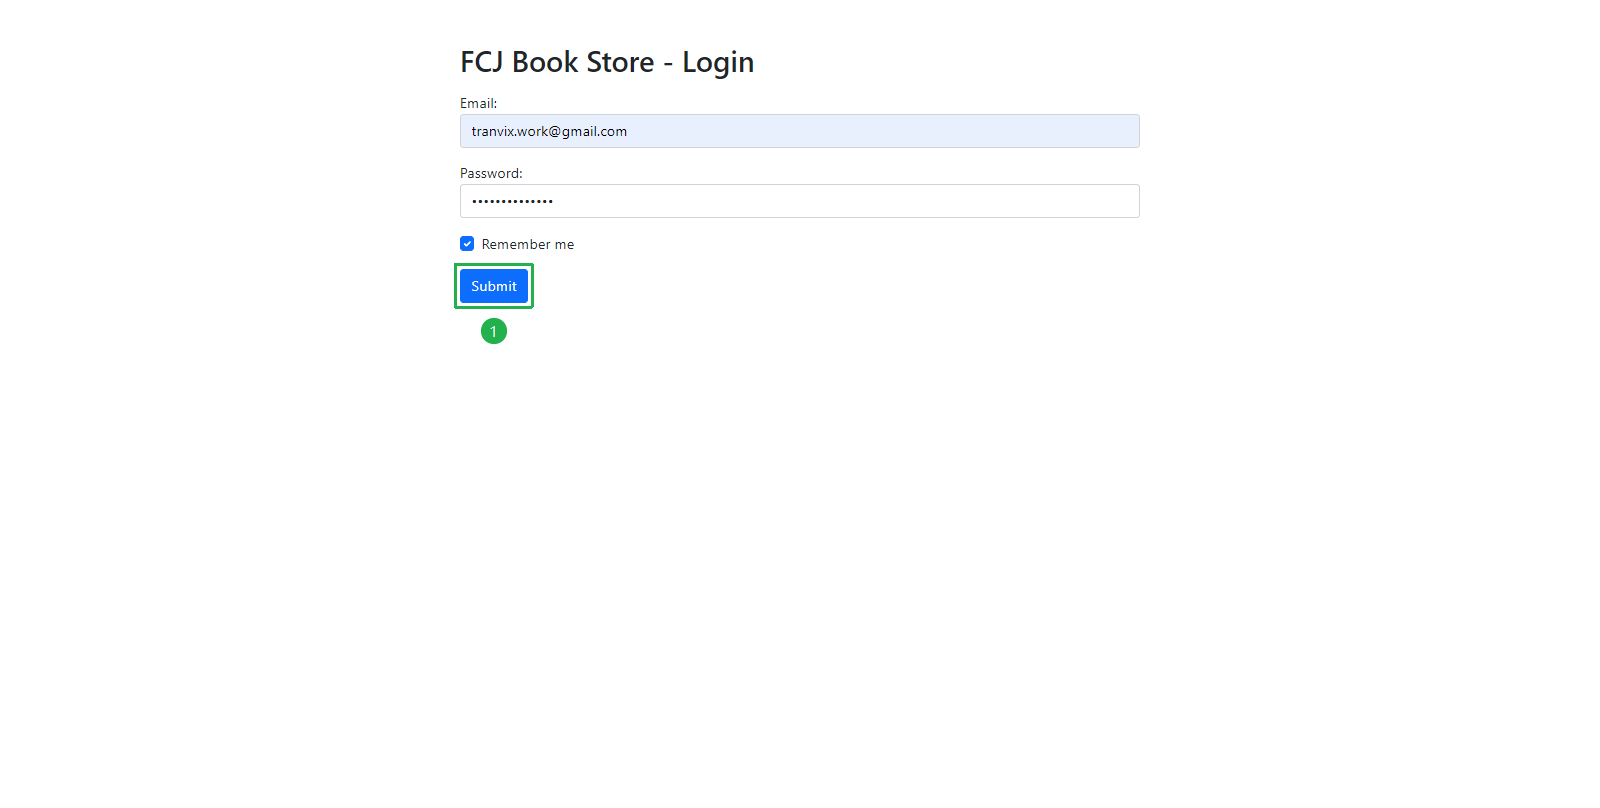
After email verification, you will be redirected to the FCJ Book Store - Login page.
Enter your Email and Password.
Click Submit.
After a successful login, the navigation bar will show additional options: Create new book, Management, and Orders — confirming that authentication is working end-to-end.
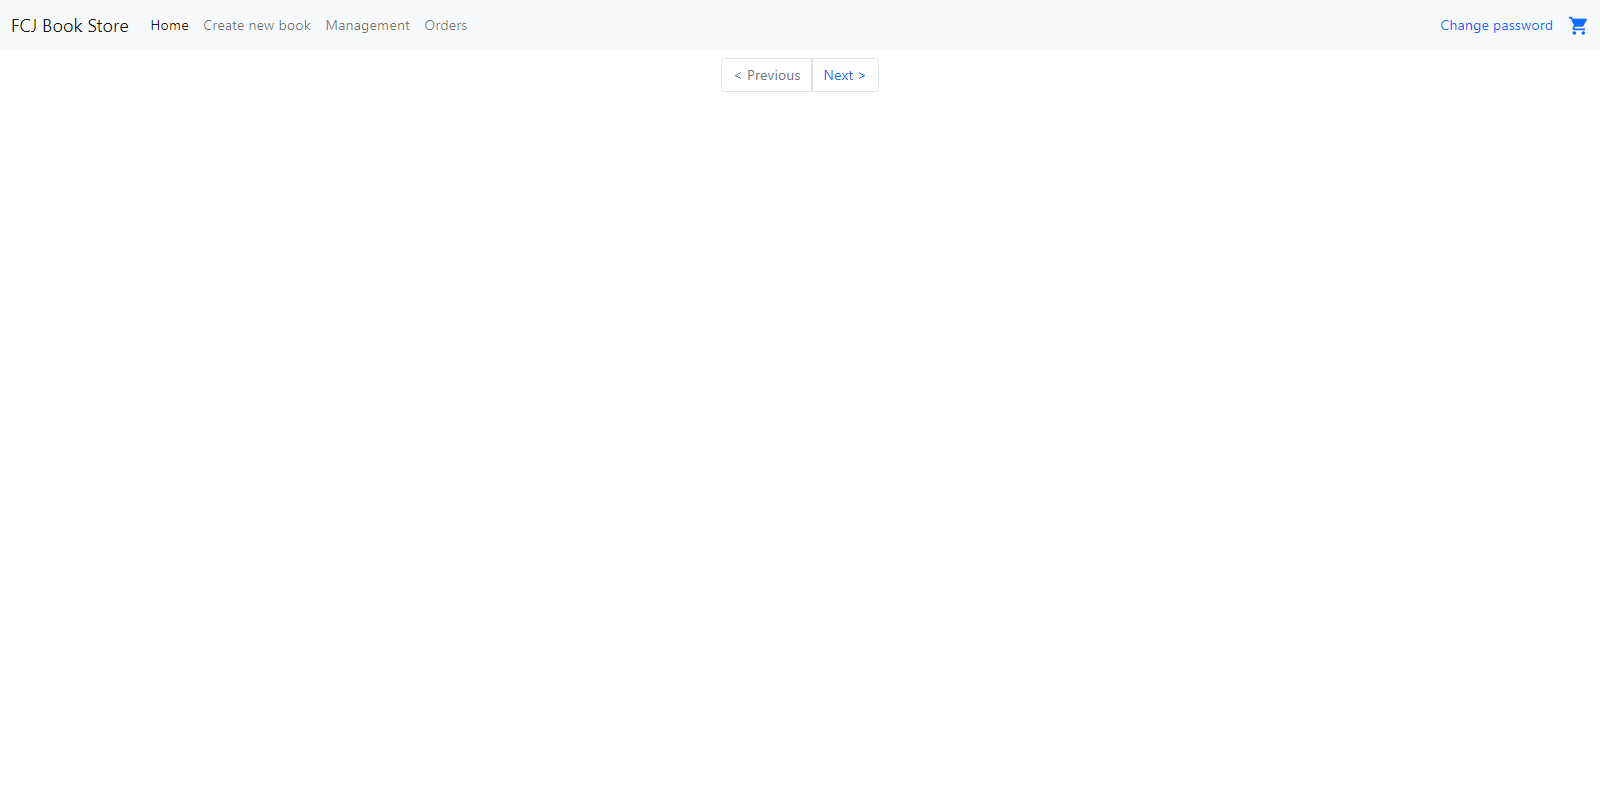
Congratulations! You have successfully integrated Amazon Cognito authentication into the FCJ Book Store application using API Gateway and Lambda functions. The full flow — Register, Confirm email, and Login — is now working correctly.