Create User Pool
-
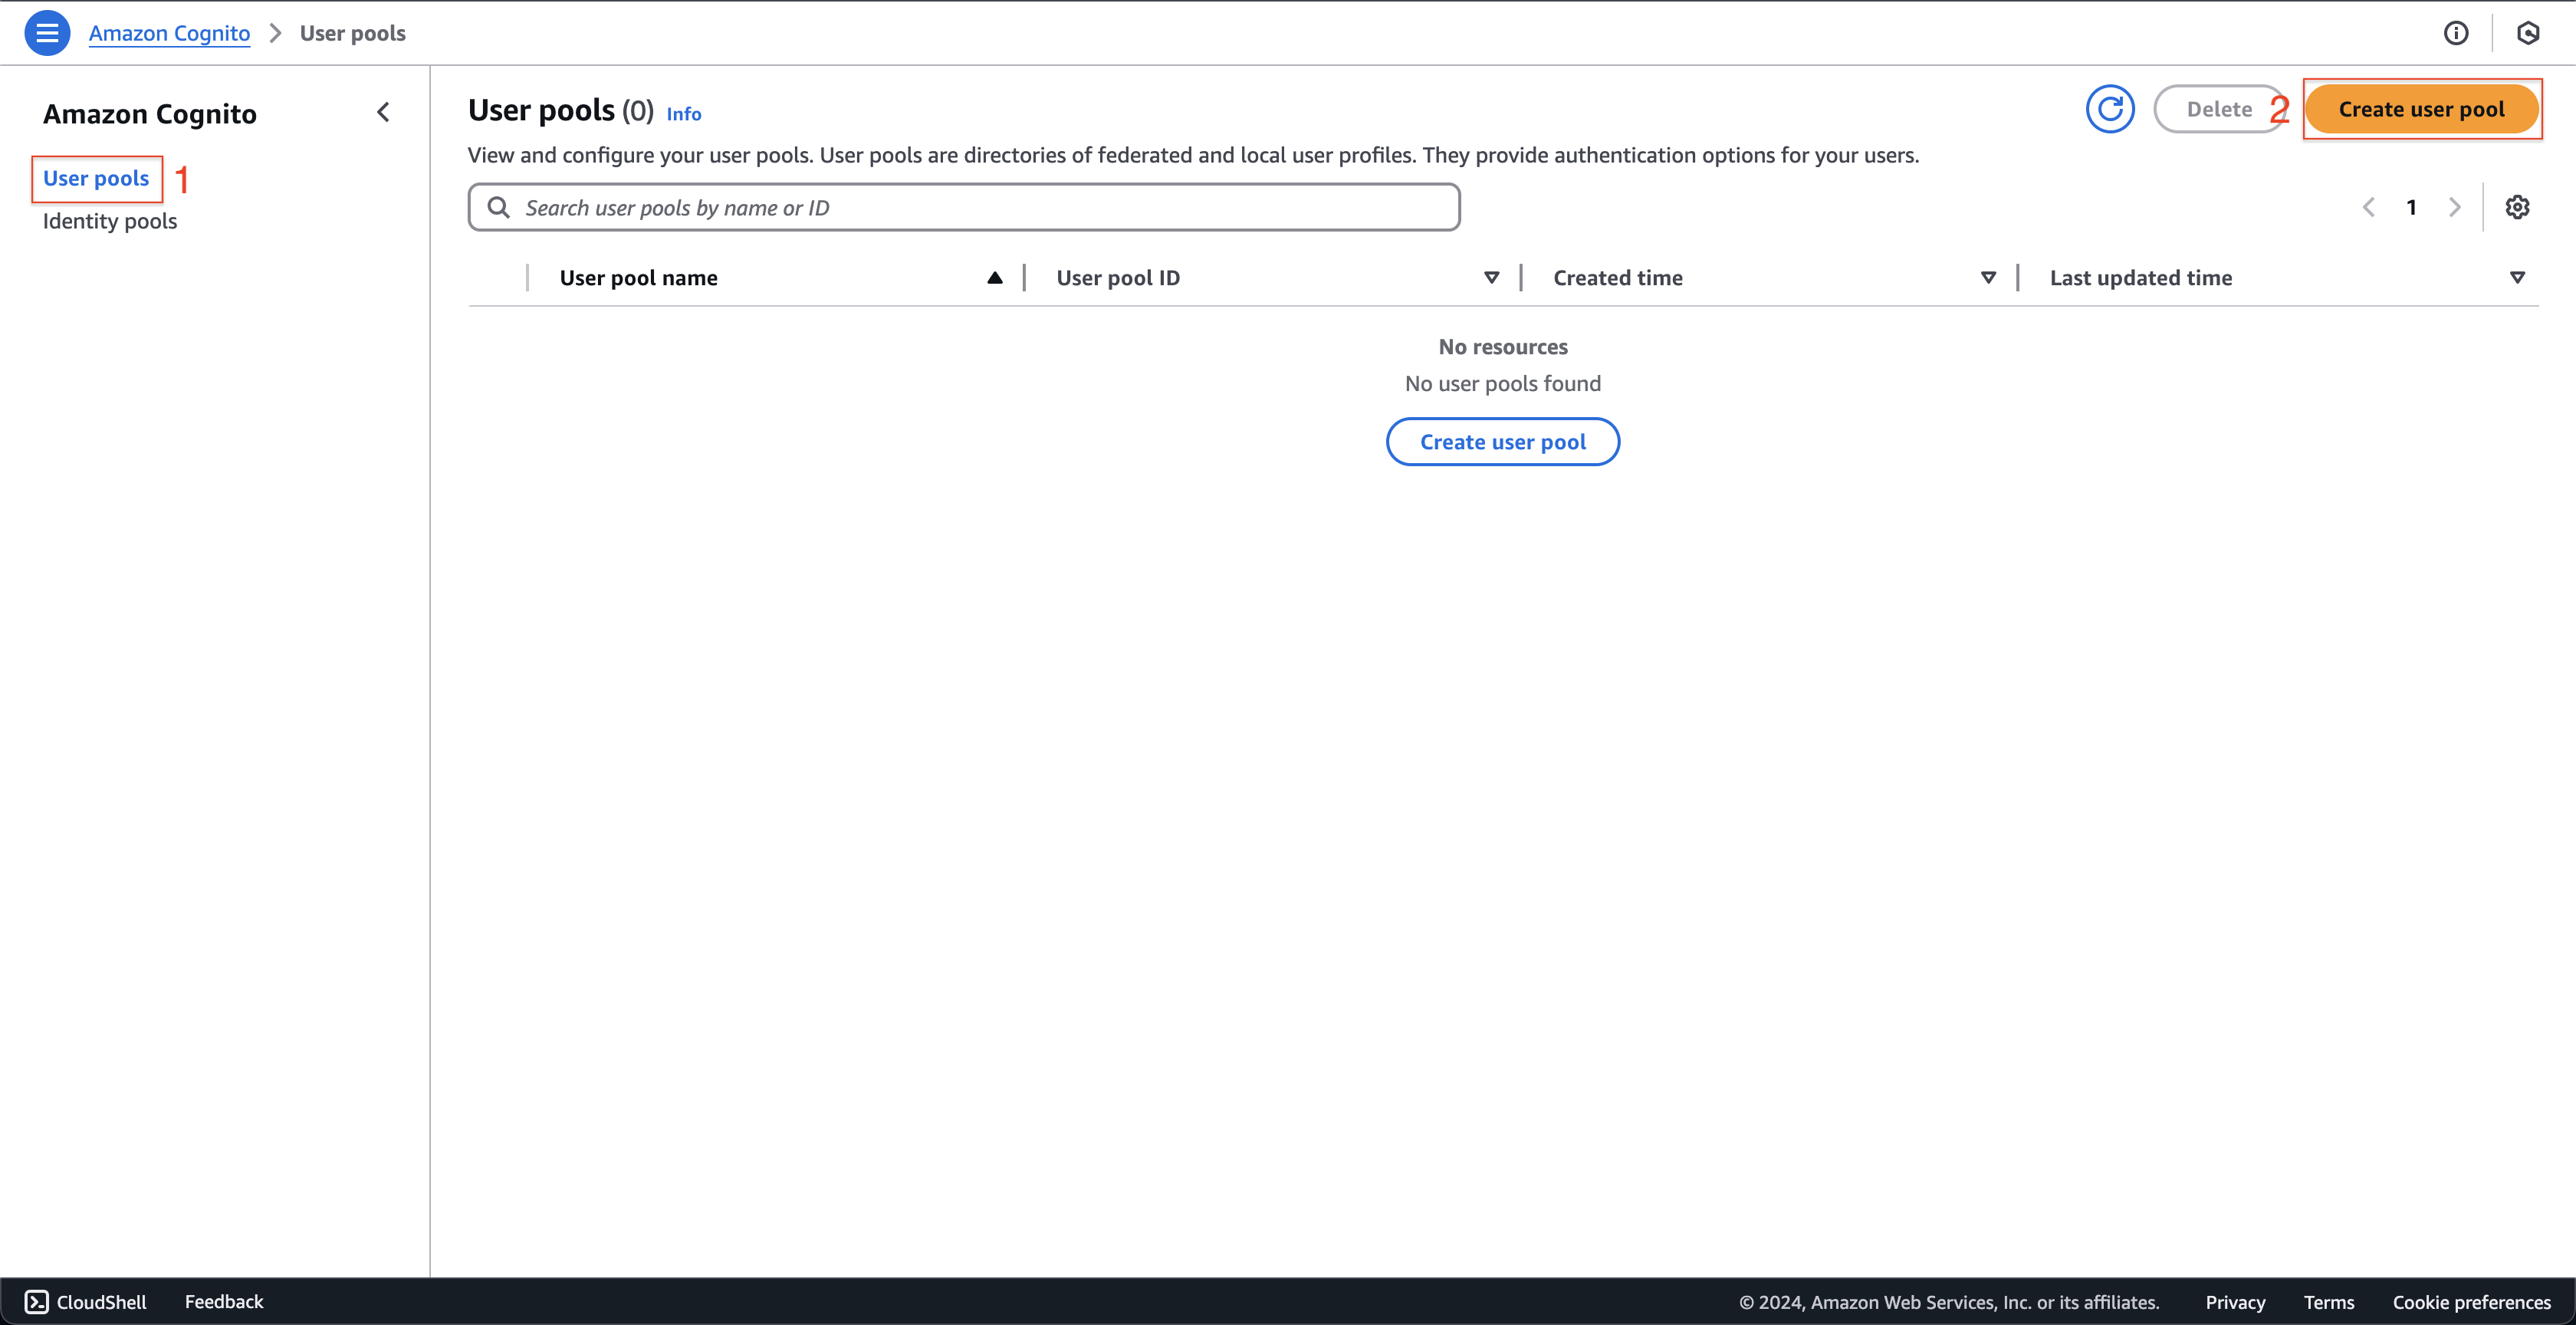
Open Amazon Cognito console.
- Select User pools on the left menu.
- Click Create user pool.
-
At Set up resources for your application page.
- Select Traditional web application.
- Enter
cognito-fcj-book-shopat Name your application field.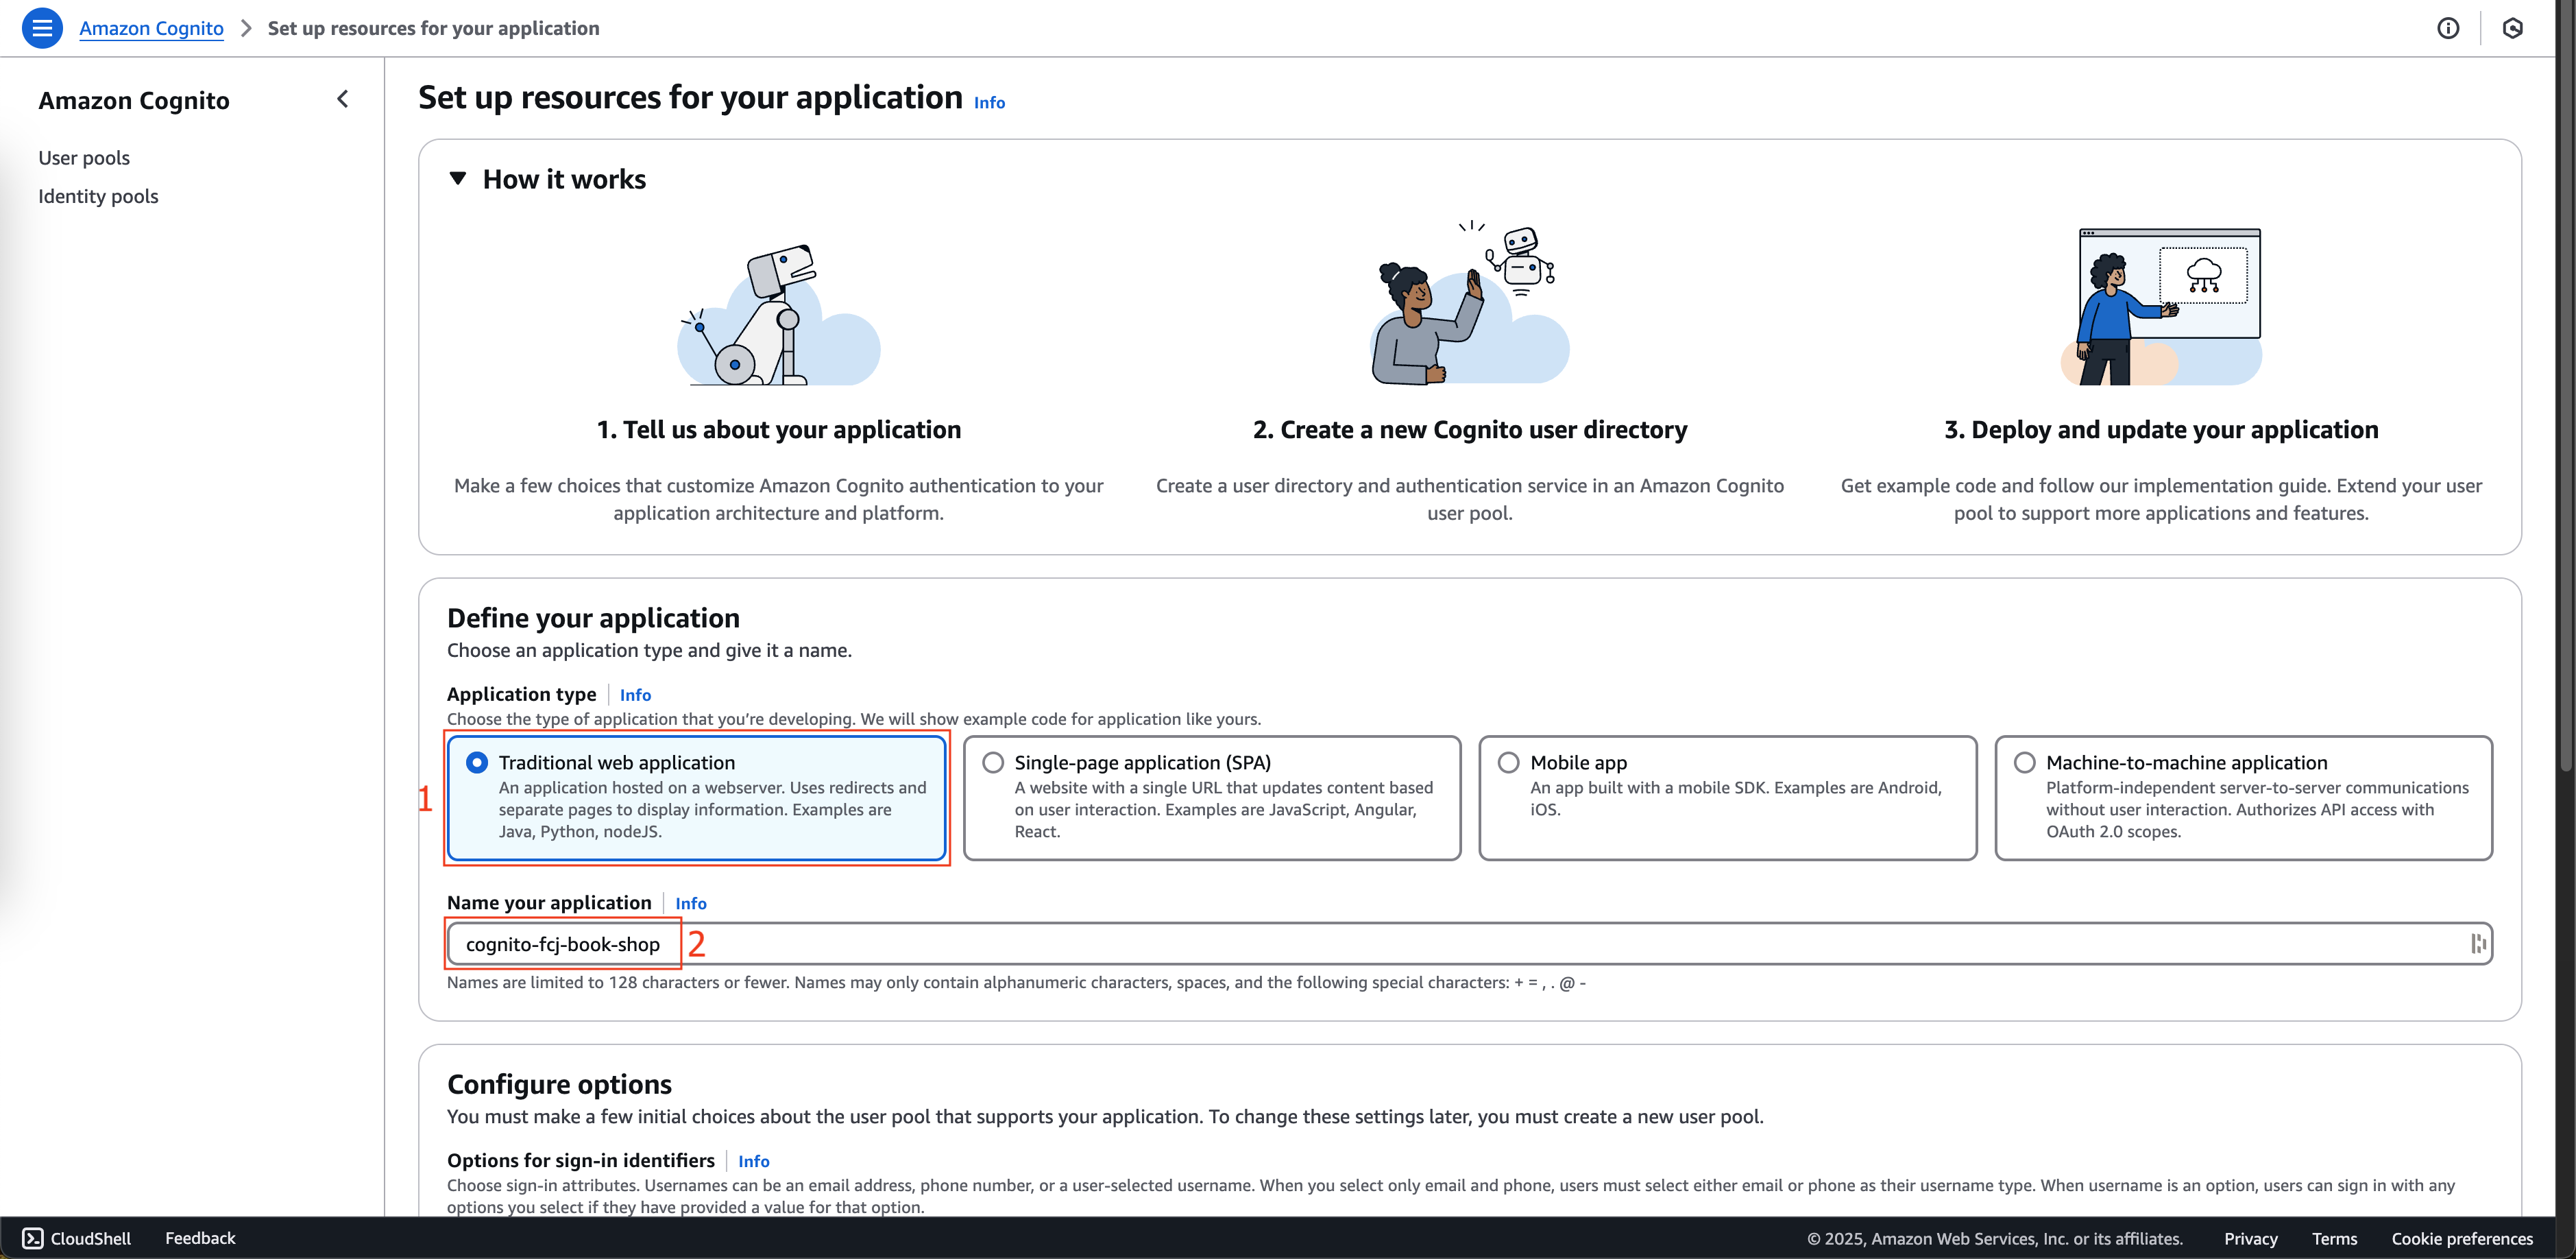
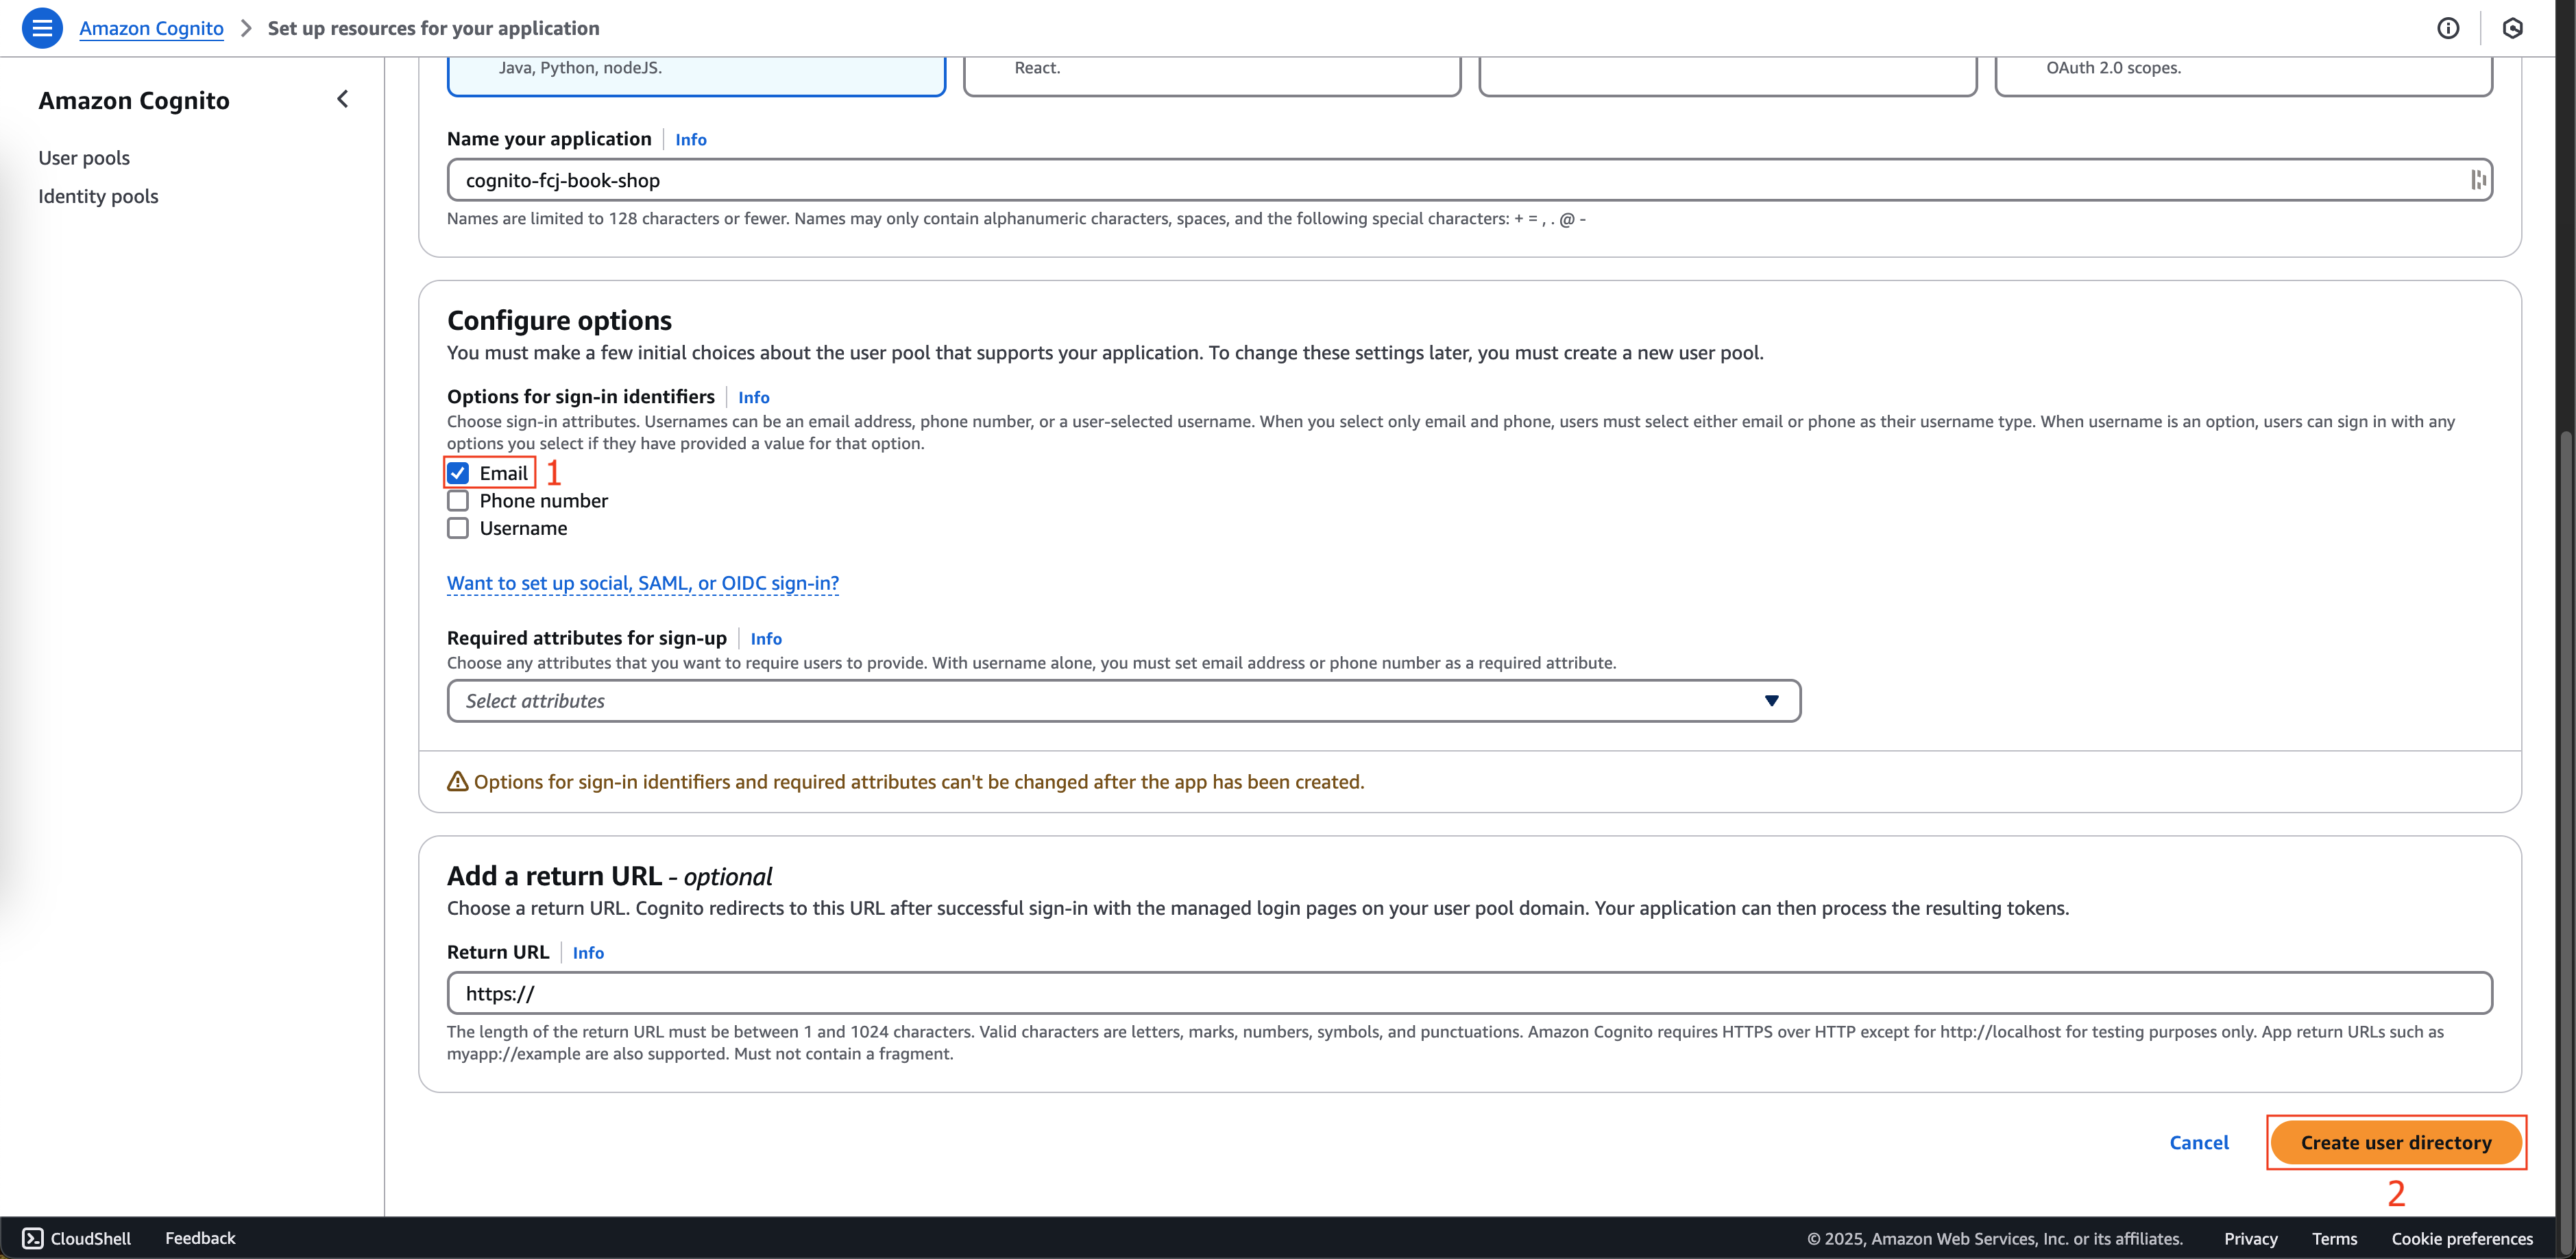
- Scroll down, select Email at Configure options box.
- Click Create user directory button.
-
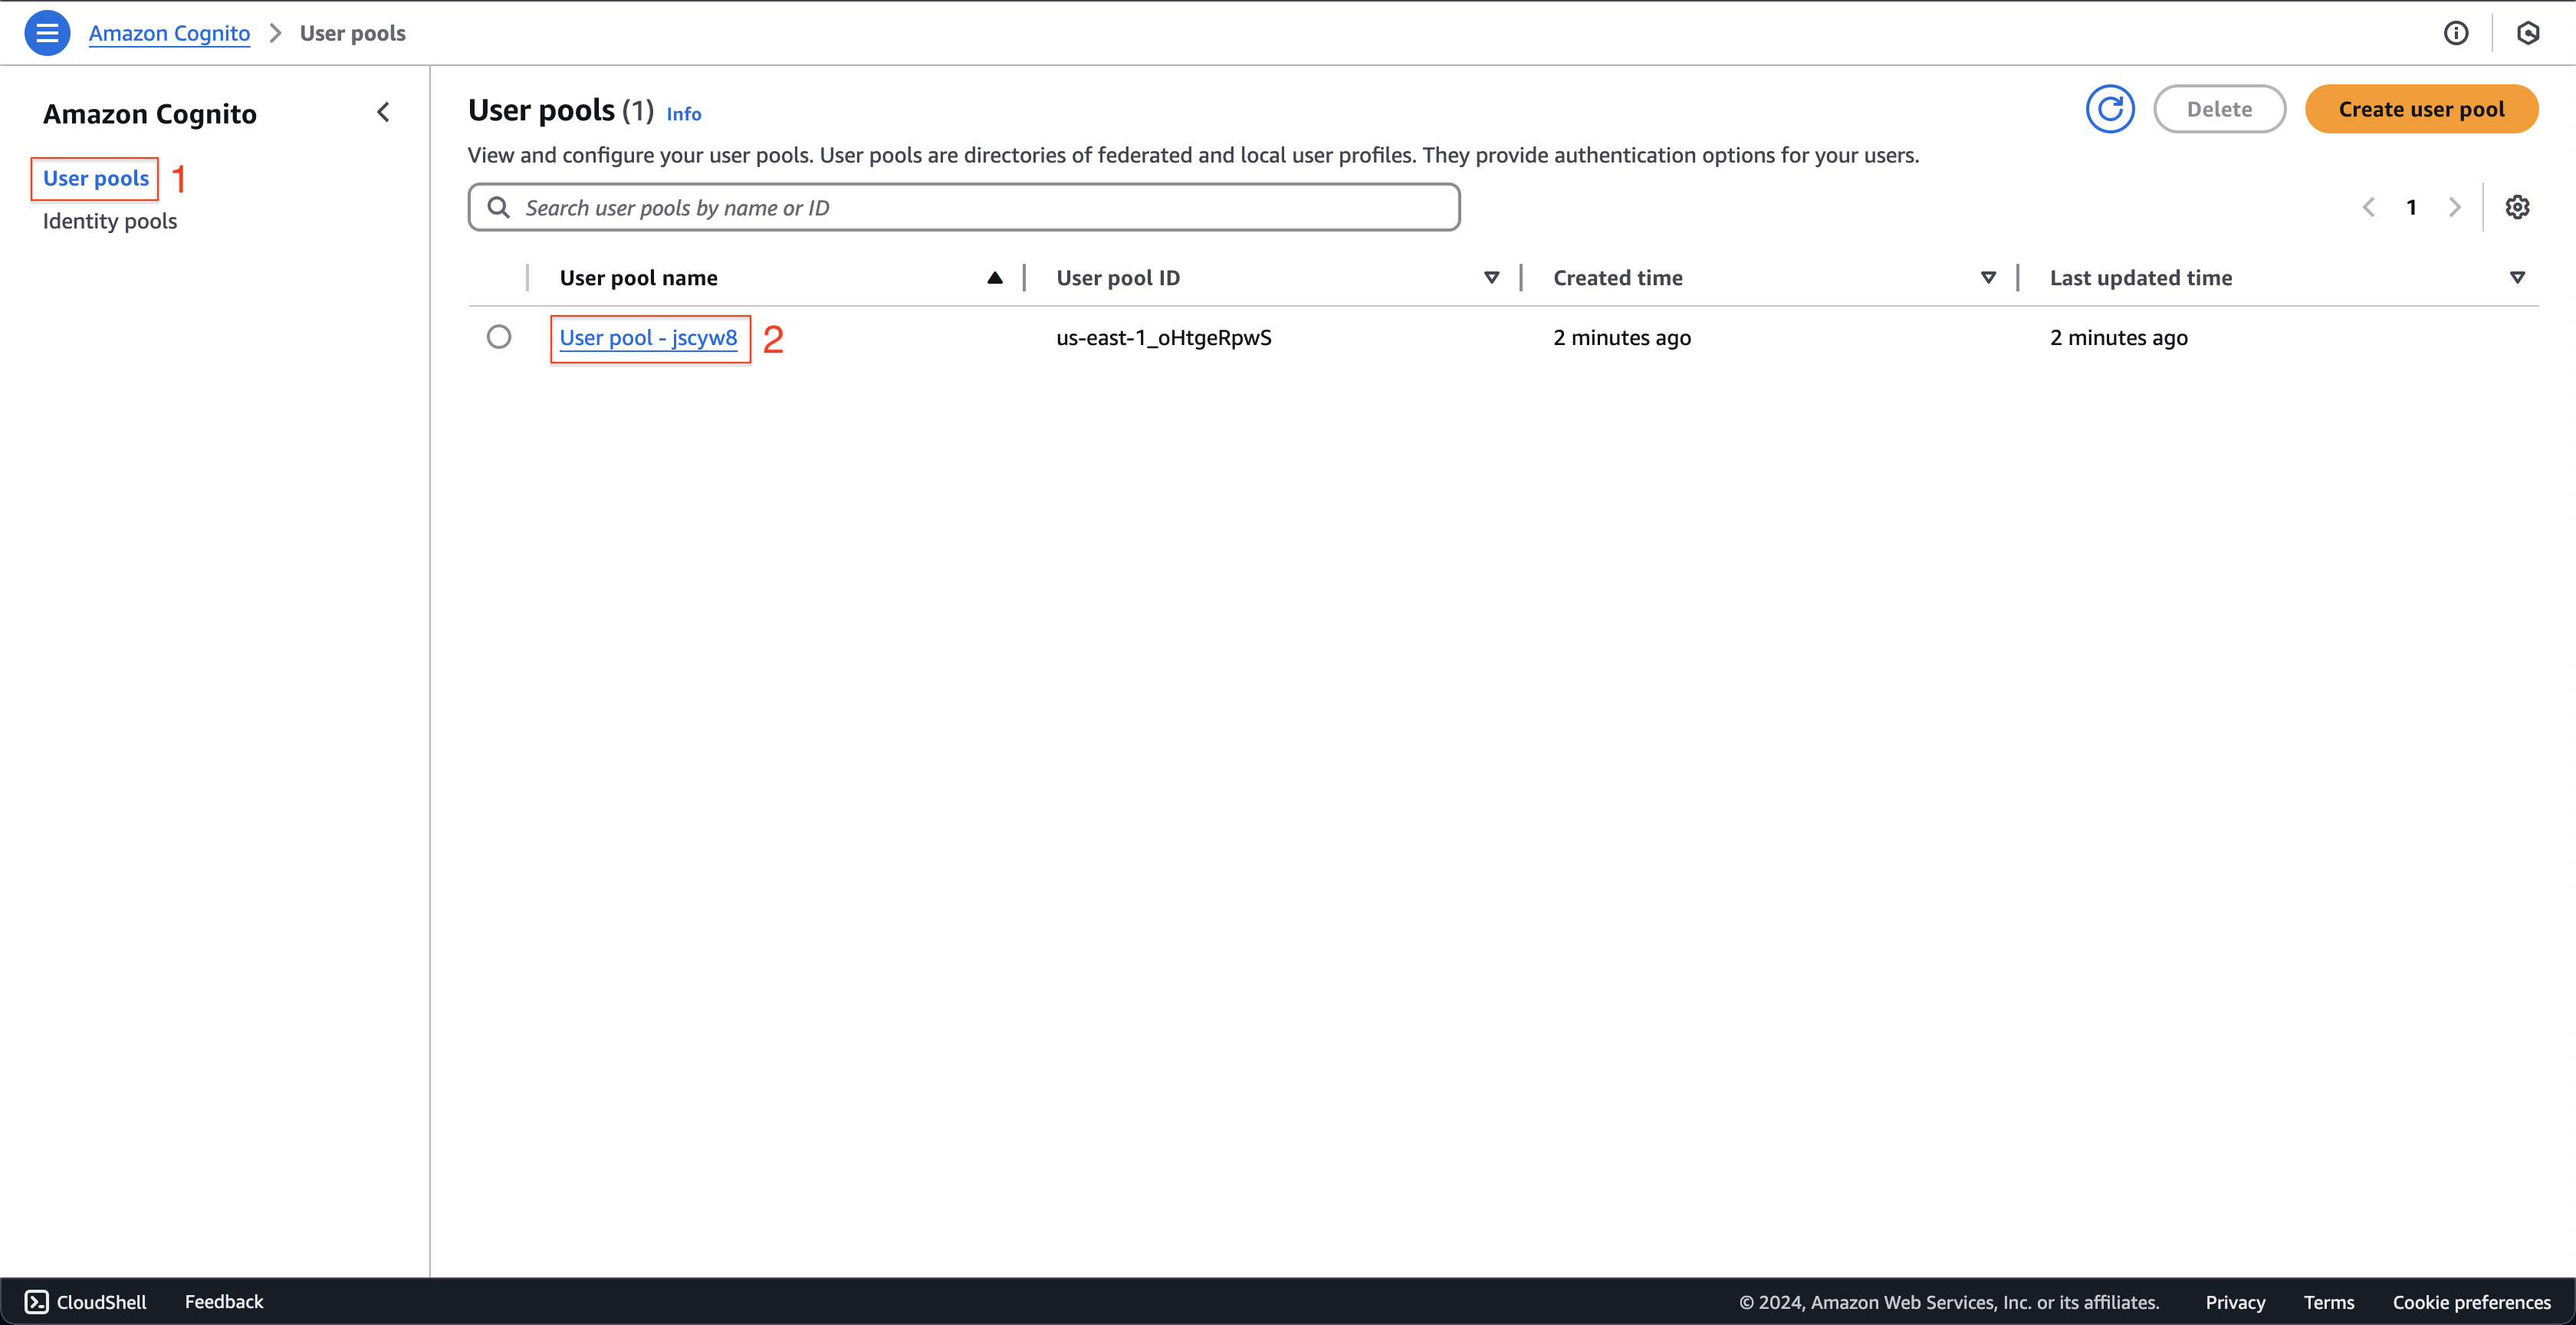
Back to Amazon Cognito management console.
- Select User pools on the left menu.
- Choose User pool - … that just created before.
-
At User pool - … page.
- Click App clients on the left menu.
- Click cognito-fcj-book-shop App client name.
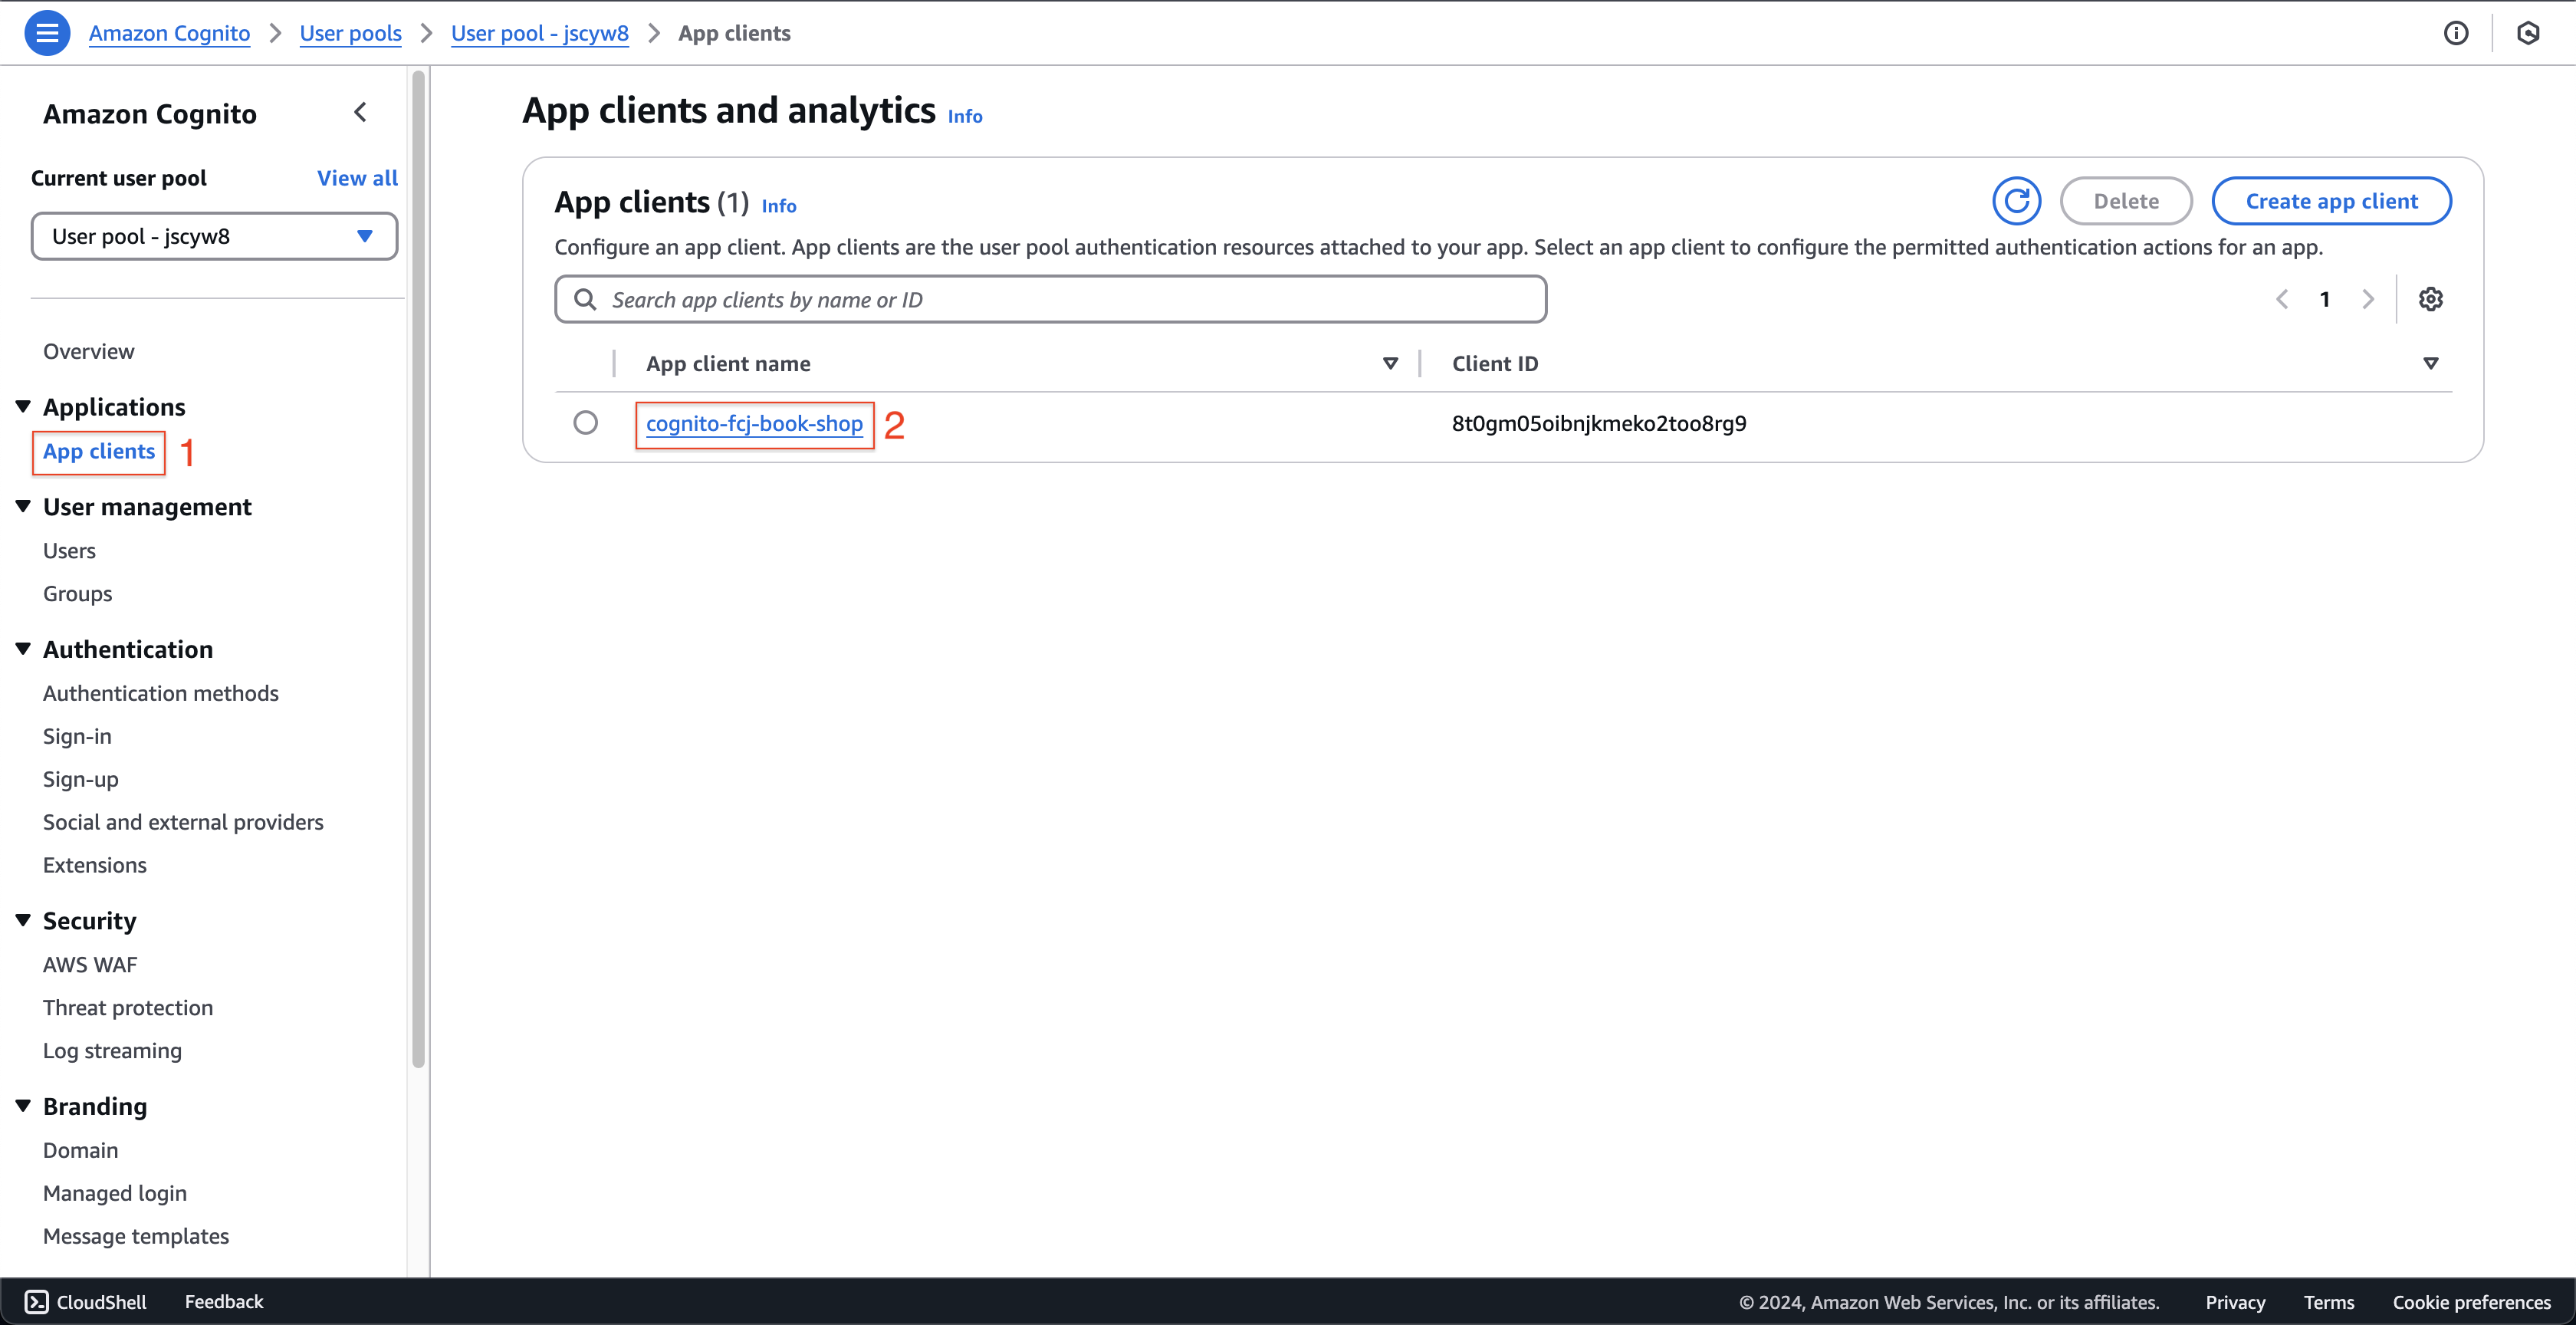
-
At App client: cognito-fcj-book-shop page.
- Record Client ID and Client secret value for later use.
- Click Edit button.

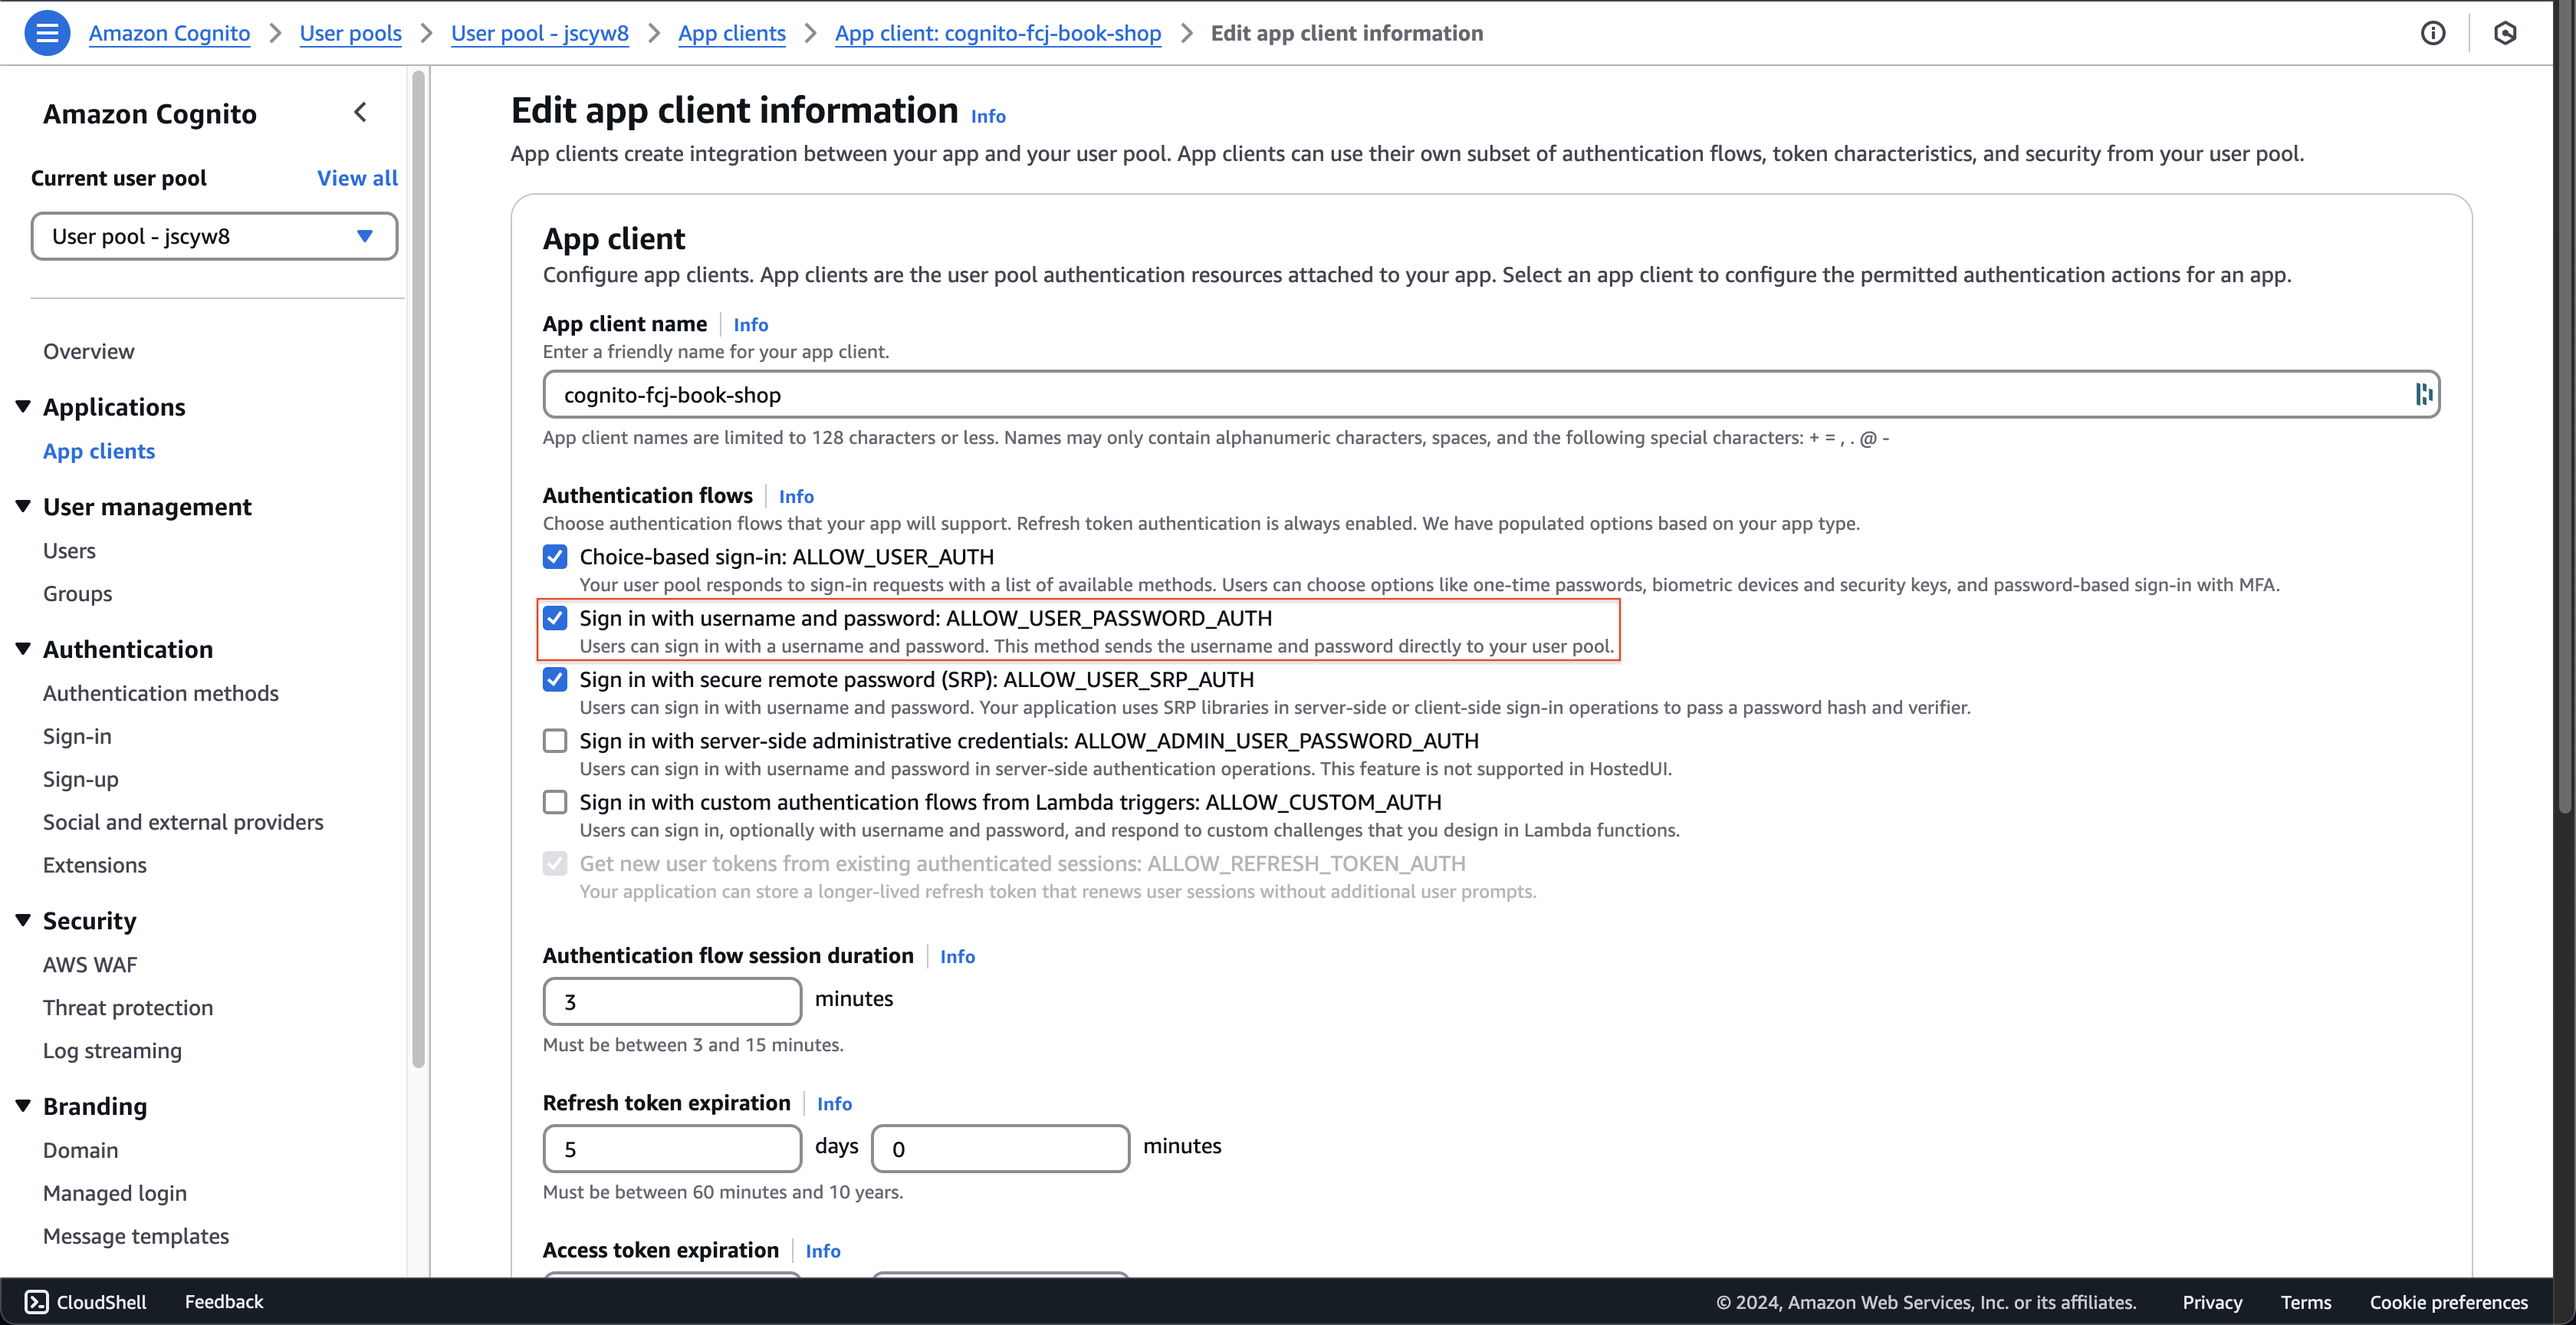
-
At Edit app client information page.
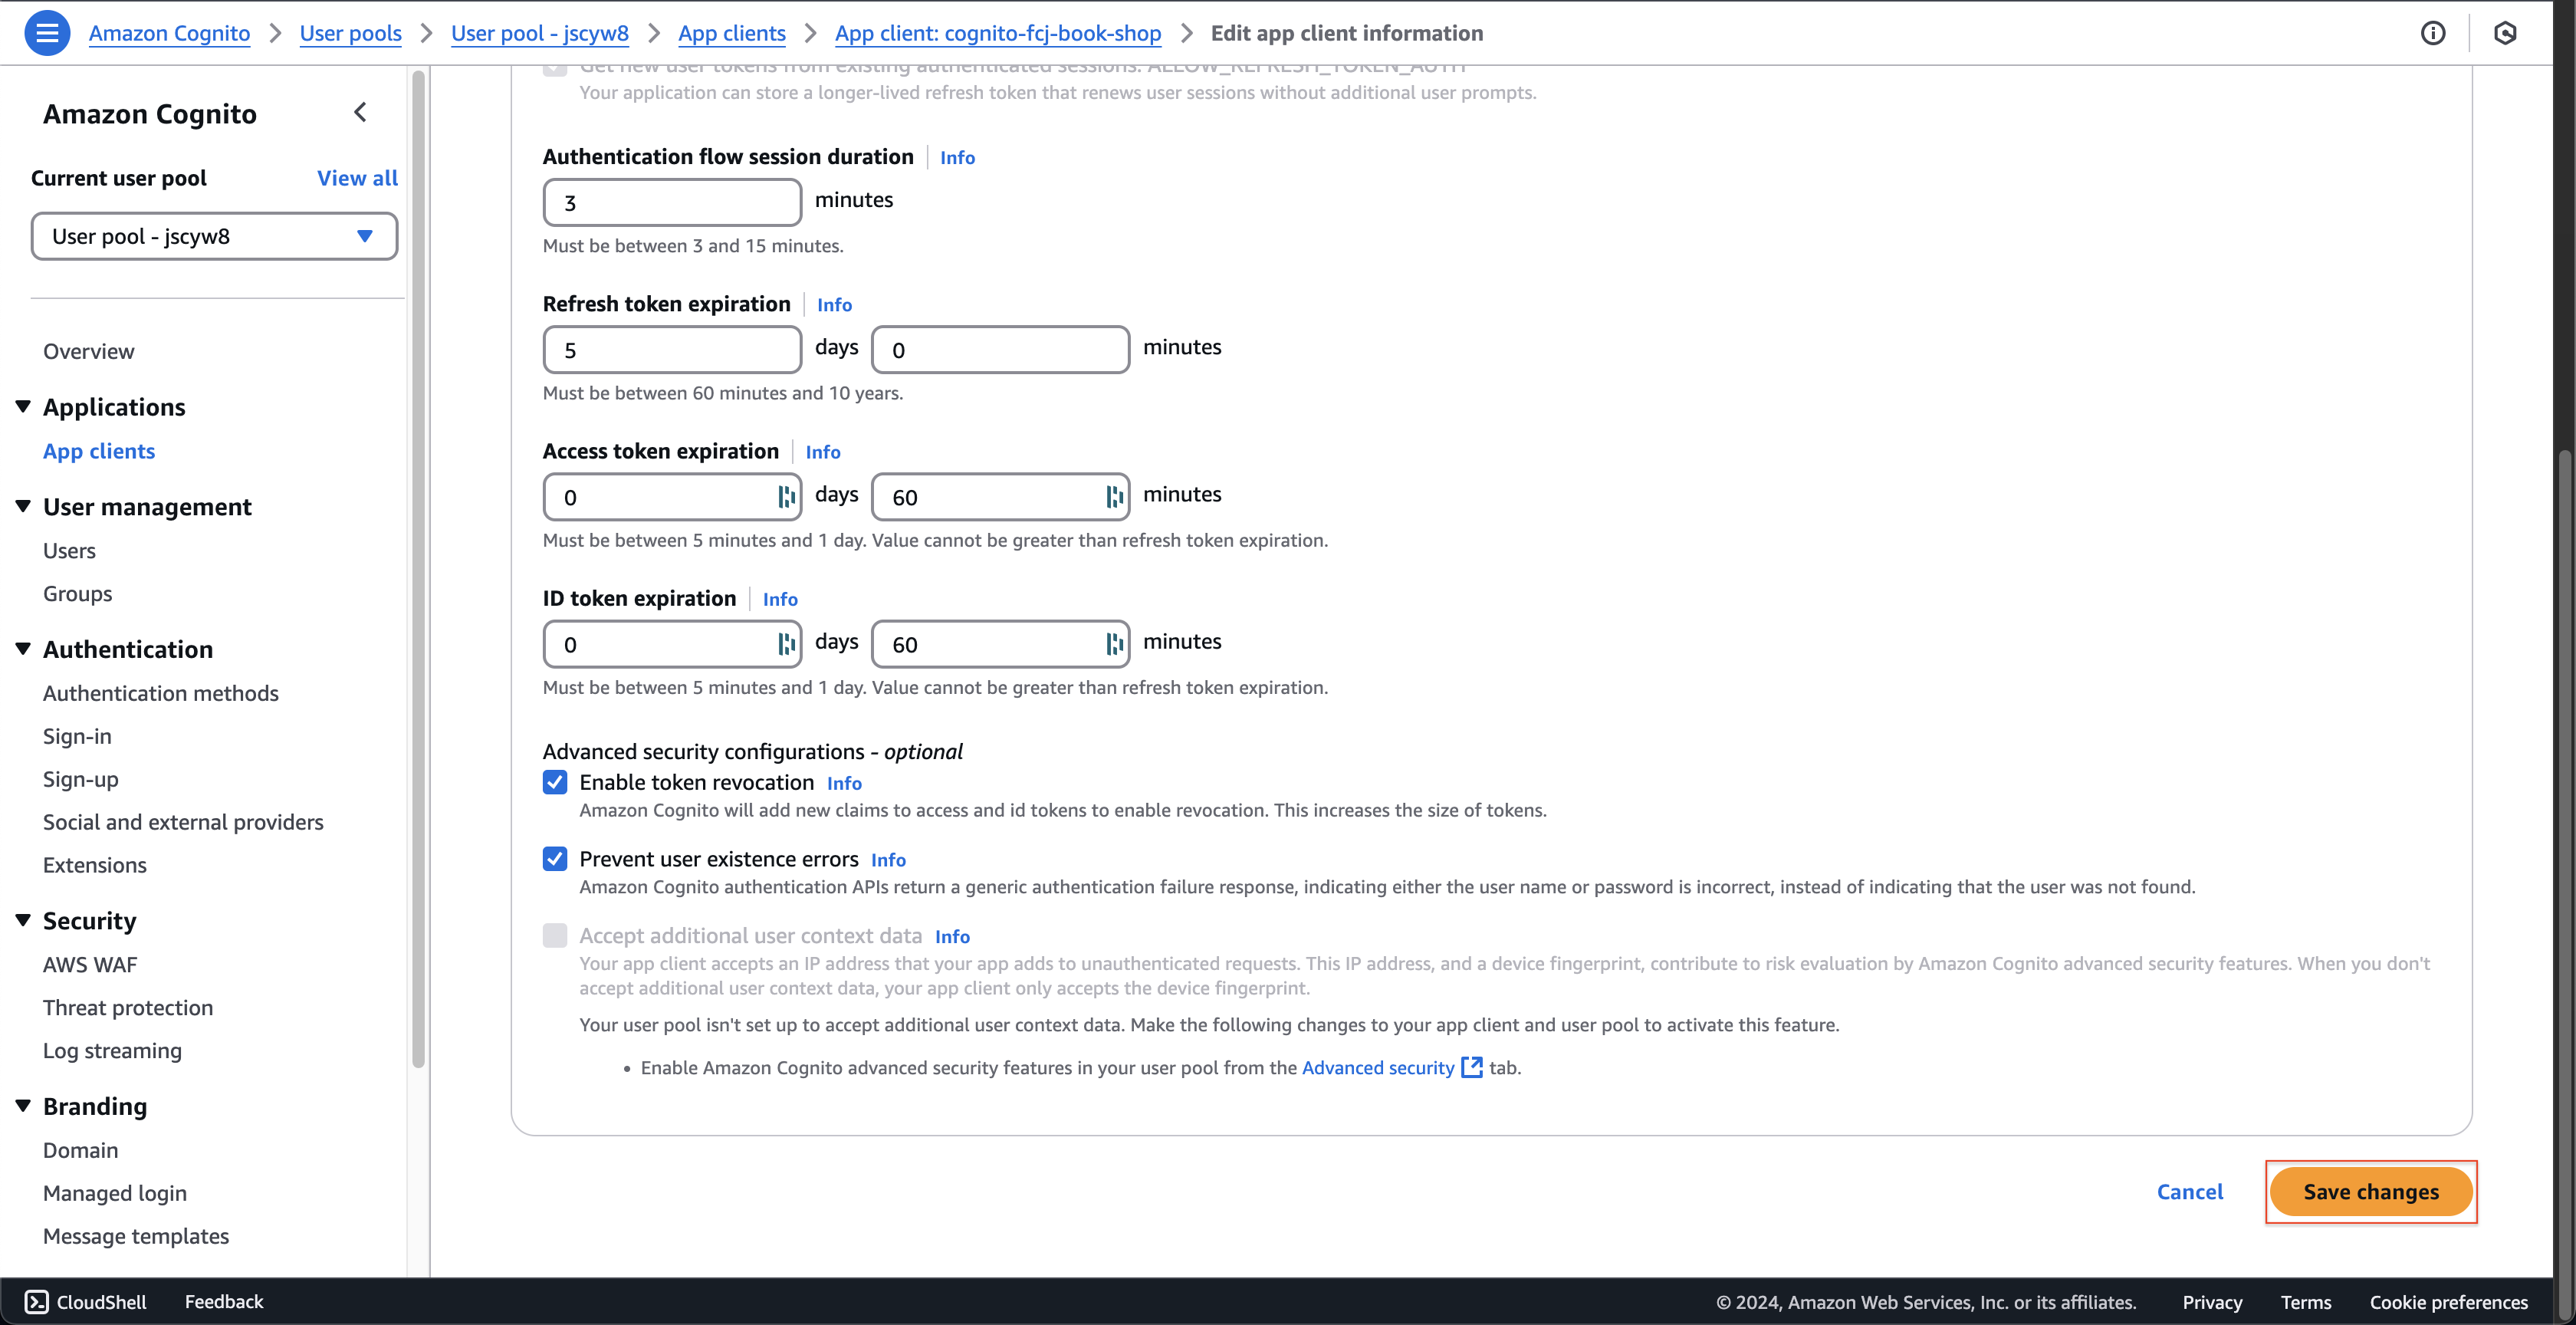
- Select Sign in with username and password: ALLOW_USER_PASSWORD_AUTH at Authentication flows.
- Scroll down to the bottom and click Save changes button.
- Select Sign in with username and password: ALLOW_USER_PASSWORD_AUTH at Authentication flows.